Sighting in your rifle scope is one of the most important parts of a shooting range routine.
Inexperienced or newbie shooters might think that sighting in is a one-time process they need to perform with their new rifle scope. However, you might find the requirement to sight in even your regular scope in different situations. For example, higher or lower altitude factors will affect your ballistics and zero if you’re shooting in different locations than where you last zeroed.
What You’ll Need
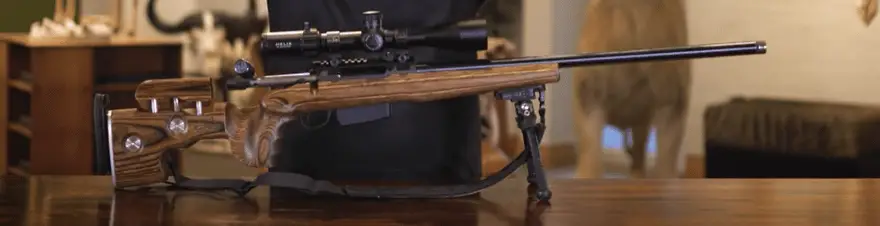
Let’s go through the gear list first. You’ll need a rifle with proper front rest, such as a bipod. You also need a rear rest like a sandbag to ensure optimal stability. However, there is more than one way to do this. You will also need your ammunition, proper eye protection, and ear protection. All very important to use while shooting.
In this post, we will discuss a shooting distance of a hundred yards. You may set different distances, such as 200 yards or less. For example, at 50 yards, all your settings will vary from what we are about to discuss here. However, 100 yards is a very common shooting range distance. We’ll cover the basic sight-in-procedure to give you insights into what you must consider while hunting or practicing at a range. So, let’s look at how to sight in your rifle scope.
Basic Scope Settings
Before entering the fun trigger-pulling part, you must first perform a few standard settings. There are two parts to properly sighting in your rifle scope. The first part is where you focus the reticle. Secondly, suppose your rifle has an adjustable objective or a side focus parallax. In that case, you must focus your scope’s parallax first to ensure that the target is properly focused for your shooting distance.
Parallax Adjustment
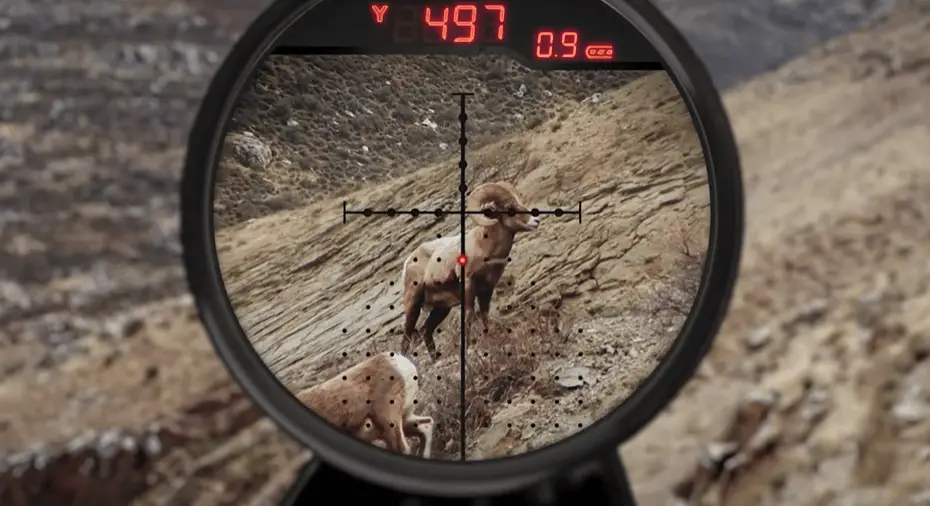
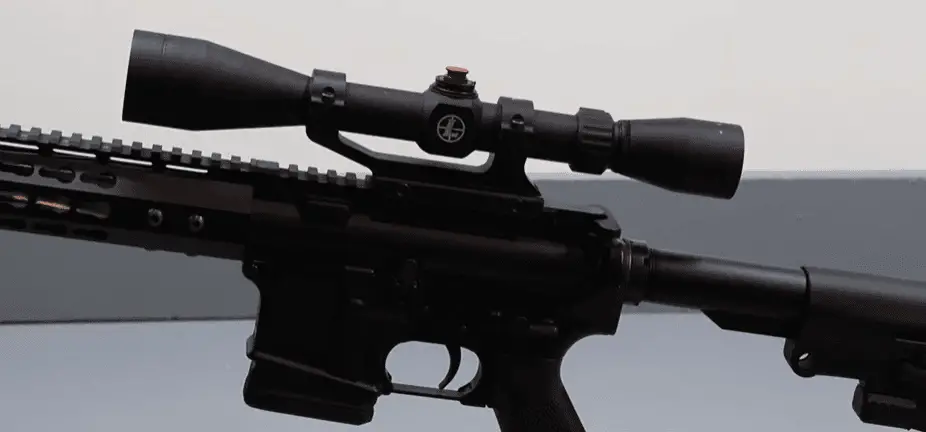
Since we’re discussing the range of 100 yards, you must adjust the parallax adjustment to 100 yards. Parallax error certainly can come into play if it’s not set just right. Your knob for your parallax adjustment may be on the side or upon the objective bell. If you don’t have one, your scope is likely fixed at one certain distance, which you want to check in the manual. It may be 50 or 100 yards. One hundred yards tend to be common.
You must look for two things when it comes to parallax adjustment.
1. While you make sure your target is as crisp and clean as possible.
2. You must also ensure that the reticle isn’t wobbling when you shift your head.
Once you’ve got that sorted, you’re good to go.
Elevation Turret
Riflescopes mostly have a zero stop in the elevation turret. Now, zero stop is very useful because as you’re dialing out at a distance, you’re only going to dial in one direction. After all, gravity only works in one direction. A zero stop will prevent you from going beyond your zero when you dial back.
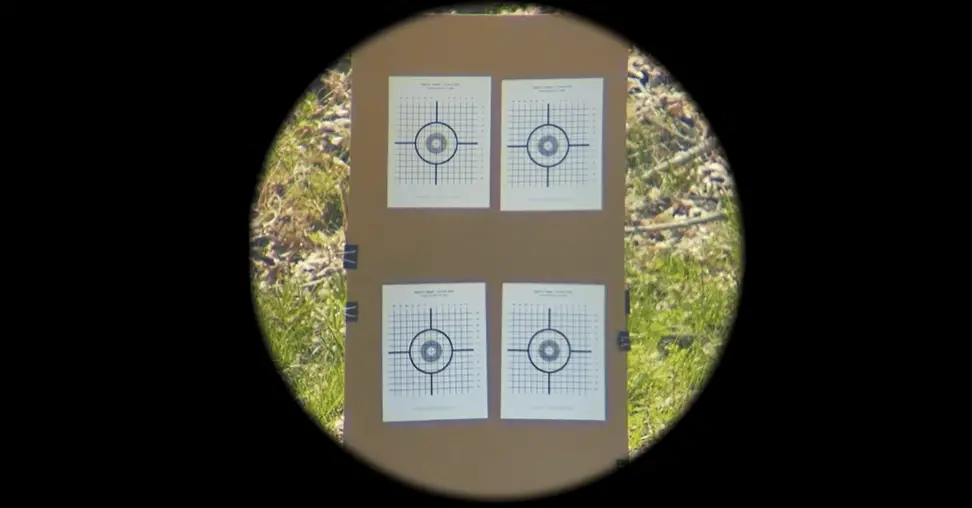
As far as the target downrange goes, it’s better if you don’t choose anything fancy or with many vibrant colors or intricate designs. Go simple, high contrast, small target down there. You can also use paper with a cardboard backer to make small holes.
This isn’t to say that you can’t zero in on steel. But shooting at steel causes a lot of splashes, and it makes it difficult to see exactly where your impacts are. So this is going to help us be as precise as possible.
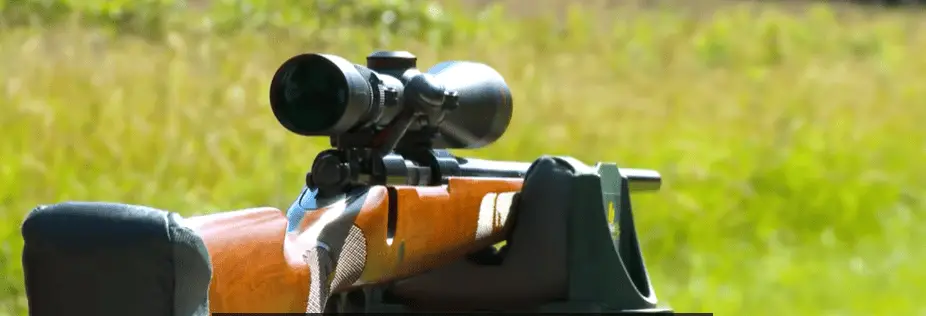
Keeping the Rifle Steady
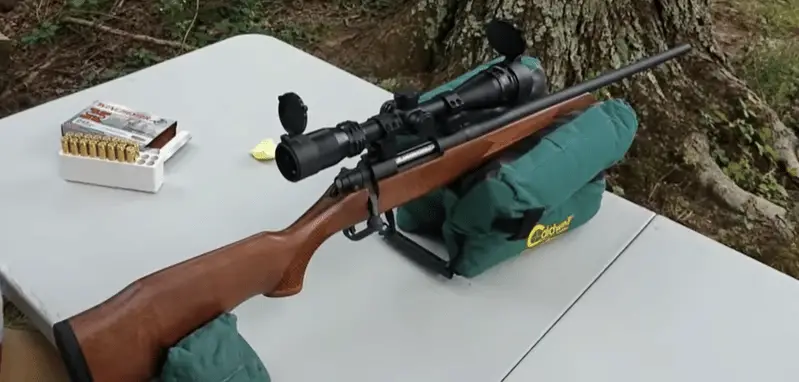
Speaking of precision, you want to make sure that you impart as little influence on the shot as possible. To help with this, you can have your rifle set up on sandbags. You don’t even have to use a bipod as you might use it out in the field. Because depending on whether you’re on a concrete slab or a bench, you can get bipod bounce, which can hamper your accuracy. You also could have a bag at the rear that you can use to keep the rifle as steady as possible.
Now speaking of those sandbags, a popular piece of equipment that many people will use to eliminate shooter error from this process is a weighted gun vise. We discourage using that and promote the use of sandbags that will allow the gun to recoil the way it was designed.
Now take your time and shoot five-shot groups.
Preliminary Shots
Now that we are almost done with the ‘how to sight in your rifle scope’ part, you must confidently take it nice and slow with consistent shots till you finish your shot group. Some people may want to make adjustments right off the bat. You need to take multiple shots and finish this group to make sure the rifle is shooting the way you expect it. If it does, then you can make adjustments.
Once you’re finished with the preliminary shot group, let’s say your shots are about three MOA (Minute of Angle) to the right and three MOA high. So your correction is going to be about three MOA down and three MOA to the left.
You should exclude your pulled shots. You never want to count the pulled shots as part of your pattern. You want to separate that from where your actual group is.
If you just shoot one round and then chase it around the target, you’ll never actually know what’s happening. So shooting multiple rounds, taking your time, and applying marksmanship fundamentals will help.
Dial-In Corrective Settings
If you have an MOA or MRAD scope, your reticle should have some measurements in it that you can bracket to determine how many MOA or MRAM you need to dial into your turrets to get on target. This setting will help you hit the X during your next shot group.
You can do the conversion of linear units to MOA or MRAD. If you’re shooting with an MOA scope, you must know that 1 MOA is about an inch at a hundred yards.
So now, you can go ahead and make those adjustments quick. Suppose your rifle scope dials in quarter MOA clicks with your turret caps off. You will need to dial three MOA left and three MOA down. So if each click is a quarter MOA, you must have got about twelve clicks in each direction. Once done making the side and elevation adjustments, reapply your turret caps, and you will be ready to shoot.
Another thing you may need to keep in mind is that if you are shooting suppressed out, make sure that the suppressor hasn’t worked its way loose a little bit at all. Also, check that the cover over the suppressor hasn’t gone over the suppressor. That could affect your accuracy. So check little things like that and send another group down after you make our adjustments.
Hit the Bull’s Eye
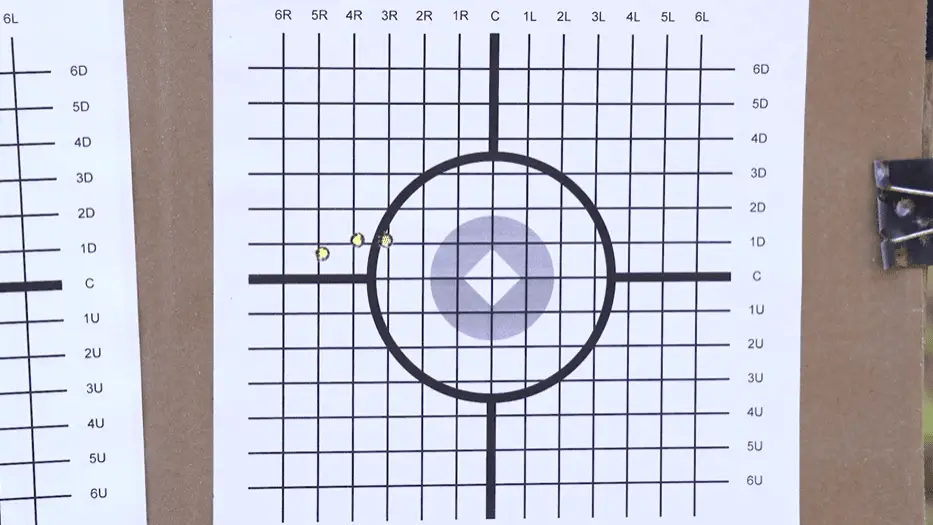
When you check your post-corrective zeroed shots, you should be down three MOA into the left and three MOA down, making your shots in and just around the bull’s eye. For a hunting rifle, shots spread about a couple of centimeters from the bull’s eye are considered acceptable. However, if it were a long-range precision Ben trout’s rifle, you must tighten up those groups and be more stringent about your spread of bullet holes.
Finishing your Setup
Finally, the shooting portion of our sight-in process is complete. There is one more step that is completely optional. You only need to do this step if you plan to dial your turrets in the field for a long-range shot to compensate for elevation or wind.
Preparing for Long Range Shots
Step 1:
To do this, you need to take off your turret caps to expose slots of your scope adjustments. Loosen them up with a coin or a screwdriver and reset your scope setting to zero without disturbing your click setting.
Step 2:
Once you set them up, you can tighten them back with care and reapply the turrets. Once you do this for both the elevation and side settings, you’re done. That’s all for the zeroing or sighting procedure.
Let’s look at a quick and interesting rifle scope technology despite all of this. Trigger squeeze and shot timing are two key reasons shooters miss long-range shots. A company called TrackingPoint implemented the fighter jet lock and launched technology with the precision-guided firearm scoping apparatus.
This technology eliminated multiple sources of error, including aiming and trigger jerk, making it one of the most advanced and flawless shooting technologies of all time. While this tech marvel nullifies the above traditional scoping requirements, it’s military-grade, super expensive and not commonly available to civilian shooters.