Food, shelter and clothing are necessary fundamentals that everyone should have.
A roof over you and your loved one’s heads keeps you safe, dry and private.
It should go without saying that you must have a suitable shelter when you’re out in the wild. Your chances of surviving an ordeal get significantly reduced if you’re caught in a sudden snowstorm or a torrential downpour and get sick in the process.
Water should be the first thing on your mind because without it you’ll only last a few days. You can go without food for far longer (2 to 3 weeks) but then that becomes important too. Without food and water, your physiology drops and it all goes downhill from there.
Being constantly exposed to the elements can prove to be the X factor when it comes to survivability. You can say that you’ll be fine without any real shelter, but you may get suddenly caught unawares by several life-threatening scenarios, i.e., wild animals, a sudden drop in weather, etc. and can soon turn to a matter of life and death.
If you want to survive, then you must keep in mind the holy trinity, which is food, water and shelter. Having all three will greatly increase your chances of living and even thriving in the current situation you’re in. Once you have these in a reasonable supply then you can concentrate on other matters such as self-defense, building a fire or creating basic tools.
You’ll be lucky to find natural-made shelters where you are, but a sound plan involves bringing along or having the knowledge to make your own. Most of the time you won’t have the energy, the tools or the luxury of building one, so the next best thing to consider is a tent.

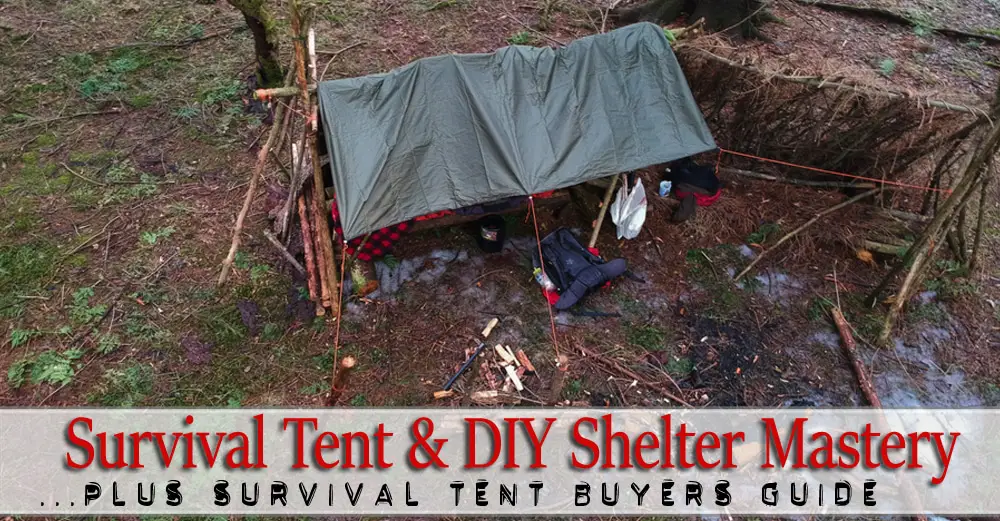
What Are Survival Tents?
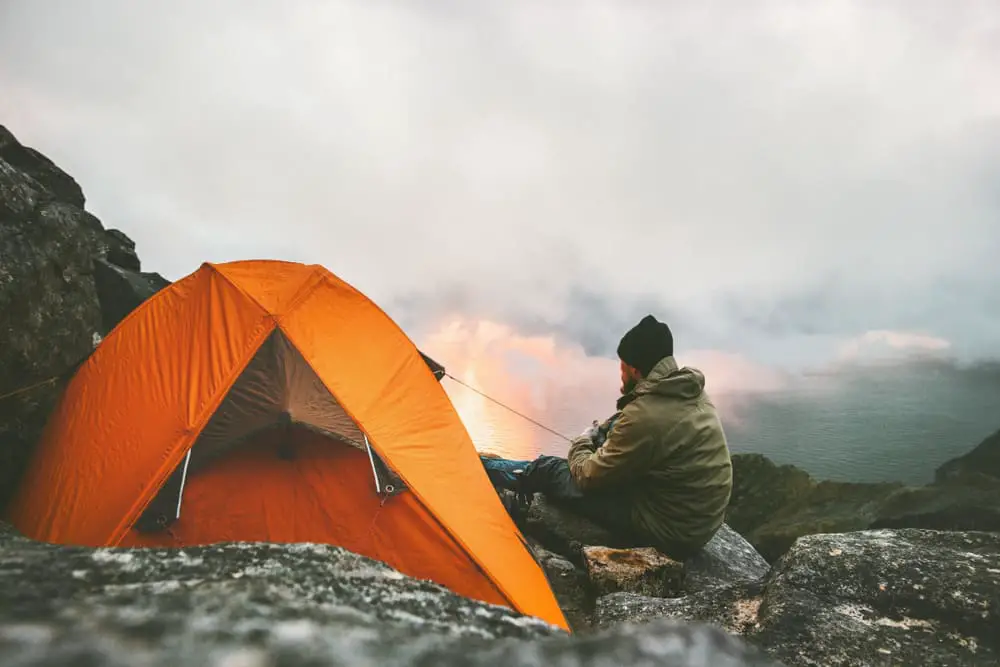
If you’ve ever been on a camping trip then you’ll know what a tent is. Survival tents are convenient and often lightweight shelters you can bring with you when you need a temporary roof over your head. It’s also an enclosed space that pretty much protects you against external elements such as animals, rain, cold, etc.
A. Types of Survival Tents
Amazingly, there’s a huge number of tents for just about any outdoor purpose and survival situation. It’s impossible to list all of them and their respective brands, but most of these tents fall into 4 categories:
- Four-Season Tents
Much like the title says, these types of tents are great for all-around use on all kinds of weather and environment. They have waterproofing features that wick away moisture, water and rain, and insulation to keep you relatively warm during fall and winter. Some tents may have removable rain flaps to help you cool down during warmer seasons.
- Cold Weather Tents
Cold weather tents are specifically designed to keep the heat inside as much as possible while keeping the cold wind and snow away. Some tents have heaters or stoves that can operate inside the tent, and much more. This type of tent is expensive as they’re simply packed with added equipment and technology.
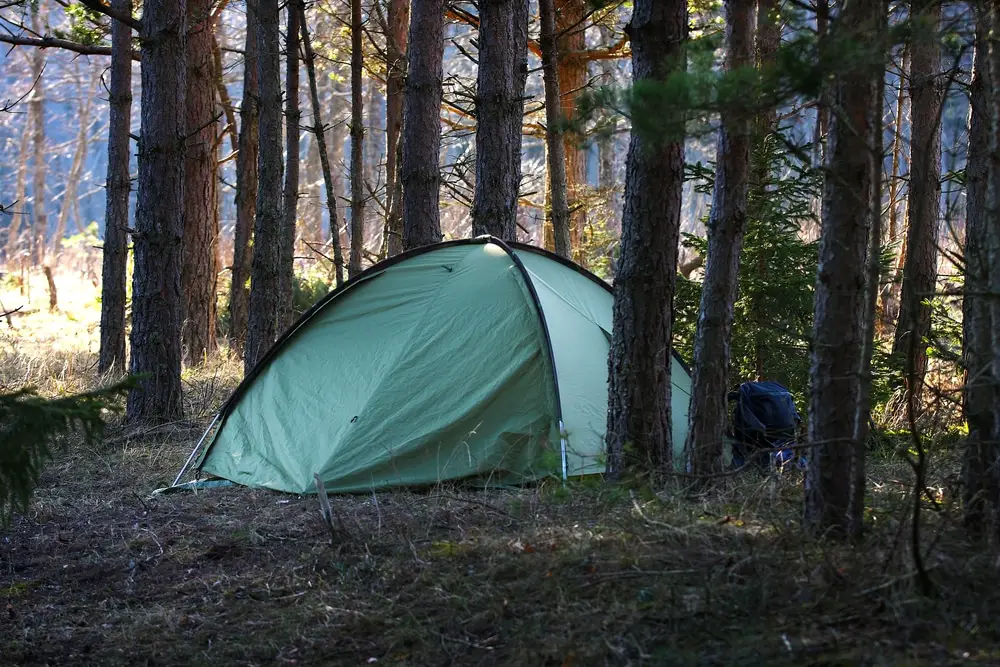
- Backpacking Tents
Backpacking tents are supposed to go with you wherever you go, hence the super-compact form and ultra-lightweight material. This type of tent can typically fit inside a bug out bag and can be carried over great distances. Moreover, they can be set up quickly and be disassembled just as fast.
- Teepees
Teepees are a staple in the tent department for many reasons. Today’s modern teepees assume the shape and form of this type of tent. A single-pole holds everything up while the edges are staked on the ground.
- Tactical Bivvy
Bivvies are the most minimalist tent you’ll ever see. They’re more like body sacks that keep mild elements away for a night or so. They’re ultra-portable and can work in a pinch. Keep in mind that bivvies aren’t made for long-term survival but they’re better than nothing when faced with a surprise emergency situation.
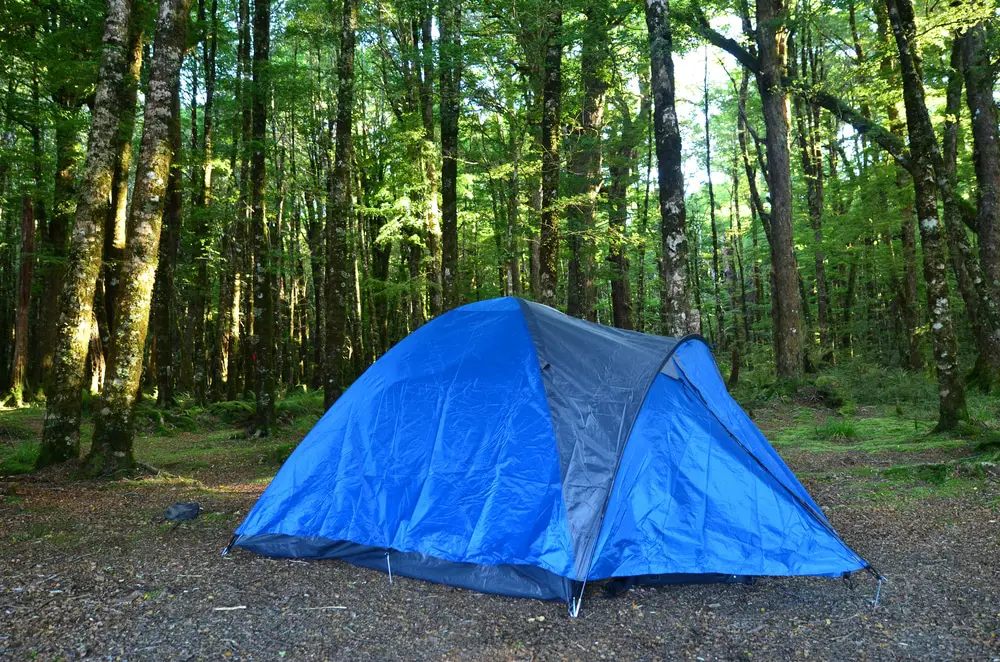
- Dome Tents
Dome tents are great when you need to shelter 2 or more individuals. These tents are mostly included in expedition trips and professional research because they allow greater room for equipment and people. The dome-shaped shelter can withstand high wind and altitude because of their shape.
- Yurts
Yurts are prolific in central Asia, made popular by nomadic tribesmen who lived in mountainous regions. The only problem with a yurt is that once it goes up, it’s very hard to disassemble and pack up. These shelters sit on a concrete foundation and are excellent for long-term survival as yurts are roomy and good at keeping out the weather and all other outdoor elements.
- The Tent As A Lifesaver
Having the right kind of tent can save you in SHTF situations. For example, you can prevent hypothermia if you bring a tent that guarantees excellent insulation. In forests, you can get a tent that keeps deadly insects and animals out, i.e., mosquitoes that carry deadly disease, snakes, various bugs, etc. A tent can help you sleep and become ready for the next day’s challenges.

B. Importance of Learning the Skill
You may think that survival only means that you only need to look for water and edible food, but this isn’t the case. You’ll also need to scout for a suitable location for setting up your shelter. Without a tent, you’ll be putting yourself at risk securing a lone cabin or a cave.
Don’t underestimate the value of learning how to build a shelter. It’s worth the time and effort to know the tools, the skills and the knowledge in learning to make a makeshift tent using what you brought and supplement it with what’s on hand. Without it, you’ll certainly be putting you and your loved one’s health and safety at risk. This means your survival kit should always have the following- a poncho, tarp, etc.
Dying of exposure is one of the most common deaths for individuals who are trapped out in the wild. Against nature and in the mercy of the elements, you’ll be extremely vulnerable from insects, predators and the weather. Whether dying of heatstroke or hypothermia, the underlying lesson here is that you should always consider allotting a certain amount of space for shelter, i.e., outdoor tents, tarps or a sleeping bag with a bivy. Remember that staying dry is very important in terms of survival.
You’ll have a choice to either buy or know how to make one.
DIY Versus Buying a Tent
There are plenty of ideas on how you can craft your own survival shelter on the web. The choices are staggering- you can learn how to set up a basic shelter using large leaves and sturdy tree branches, or improvise on some of the items you have in your bug out bag. The only downside is that these things take time and a lot of energy.
Or, you can buy a ready-made tent, which has its own types, ranging from sparse, budget-friendly shelters to pricey all-weather tents that can fit a family. The only downside to this is that you’ll have to do the heavy lifting, as tents are bulky and difficult to carry across long distances.
Both buying and going the DIY route is good to have, but you’ll need to think about your overall plan and pack accordingly.
What You’ll Need:
-
- Knife or Similar Cutting Tool
- 55-Gallon Drum Liner
- Paracord
- Mylar or an Emergency Blanket
- One roll Duct Tape
Steps To Building The Shelter
Step 1. Zip open the bag and locate the bottom.
Step 2. Fold your bag equally in half.
Step 3. Cut out the bottom part to make a tube shape.
Step 4. Find a ridgeline and tie up your paracord. A good space will be between two sturdy tree trunks.
Step 5. Put the paracord through the tubed bag.
Step 6. Find an optimal position for your tent.
Step 7. Run your hands from the tent to the ridge.
Step 8. Use duct tape to affix the edge of the tent to the ridge to ensure it stays in place.
Step 9. Tape the other end of the tent as with Step 7.
Step 10. Run your paracord through the tube, then secure it using stakes.
Step 11. Elevate the base to make room for insulation such as branches and leaves.
Step 12. Attach the Mylar at the top ridge and to the tube for insulation purposes. You’re done!
You can build an improvised shelter to ward away exposure to harmful elements such as rain, snow, wind, insects, wild and deadly animals, etc.
Of course, you’ll need the proper materials as well as have a good spot for it. Moreover, you’ll need time and energy to get it done properly. You can be smart and build the shelter size to fit your needs. Make it big enough to accommodate you, your stuff without making it too large so you can stay warmer.
A poncho, a tarp or something similar, i.e., parachute canopy, plastic sheets can be used to build an improvised shelter. Here are some ideas to get you started:
The best location for an outdoor shelter is preferably near a good water source, out of sight and away from pests and predators.
Take stock of your surroundings and identify potential shelter spots, then check out the available materials you can use to build your shelter. You’ll need durable materials that can withstand harsh elements.
Your EDC survival kit should always have a piece of tarp either in your bag or your vehicle. A tarp is always worth its weight when it comes to SHTF scenarios.
- Tarp Survival Shelter
You can build a pretty serviceable tent using a piece of tarp, some 1/2″ grommets, and reinforced corner materials. A shelter made of a tarp is relatively easy to make- you just have to put up 2 sides of a tarp over a length of rope and secure each end of the tarp to the ground.
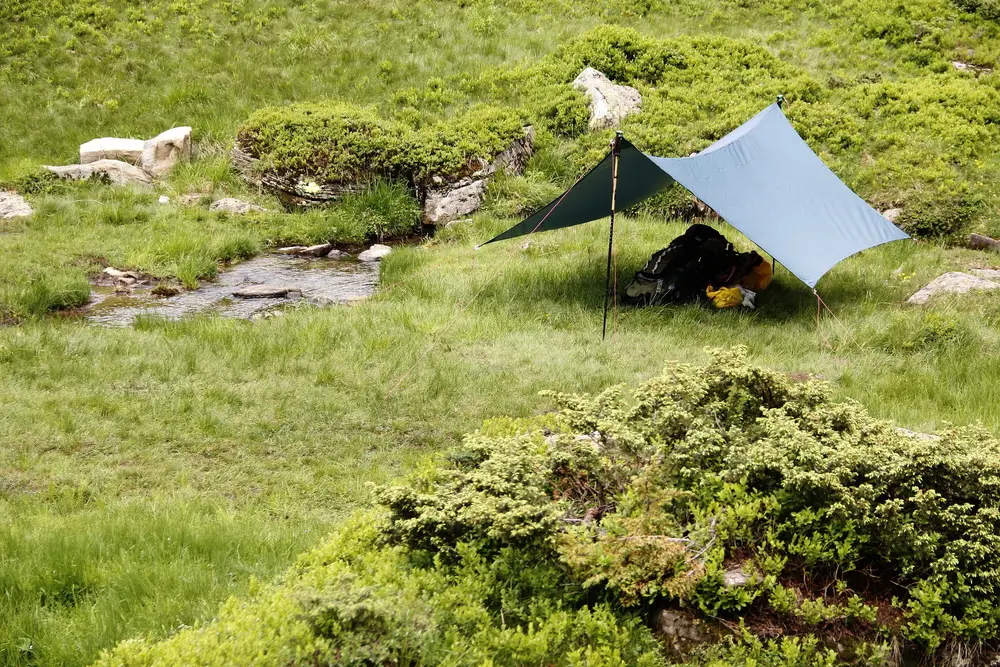
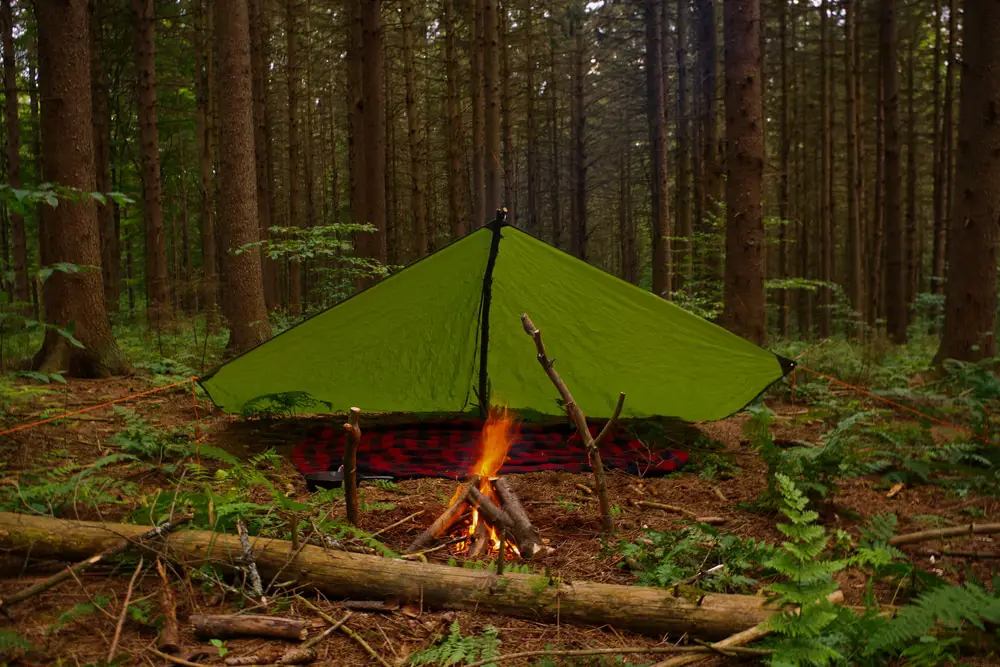
You may use the tarp in combination with a wooden frame for a makeshift shelter you can fall back to come night time.
A-frame can be constructed using natural materials; a pole can be leaned to a trunk, or a branch can be positioned so you can fit right under the tarp tent. It’s not too difficult to set up a tarp tent with whatever’s on hand.
The good thing is that you can use almost any kind of tarp, i.e., poly, nylon or canvas and it will work just fine. One thing to remember is the bigger your tarp, the larger you can make your shelter. Put this and some paracords in your EDC bag and you’ll come out prepared.
This improvised tent will keep you warm during emergencies, and can also accommodate a bit of fire positioned at the front.
Here’s a basic 8 x 10 tarp tent that you can set up with some sticks.
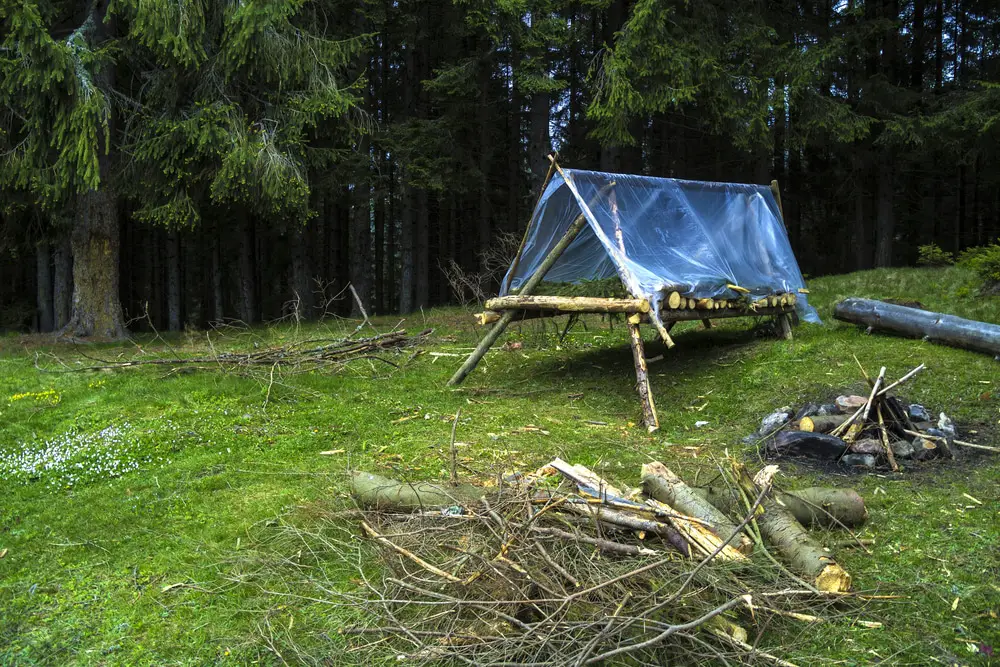
Here’s a partial tent that can keep snow away. You can set this up for an overnight stay.
Aside from tarp, you can also fashion a tent using a poncho. There are two variants you can use as a blueprint – the Military Poncho Shelter Type 1 and 2.
Here is a video about Survival Poncho Shelters
For a more complete tutorial on how you can set it up on a number of variations, check this out:
- Improvised Teepee
An Indian teepee/ tipi is an easy-to-do shelter that can be set up quickly. Here’s a helpful video on how you can make one:
How about a shelter that’s supported not by regular poles, but pulled by a rope or a paracord? It’s one of the fastest ways to make a shelter for one:
- Shelter In The Woods
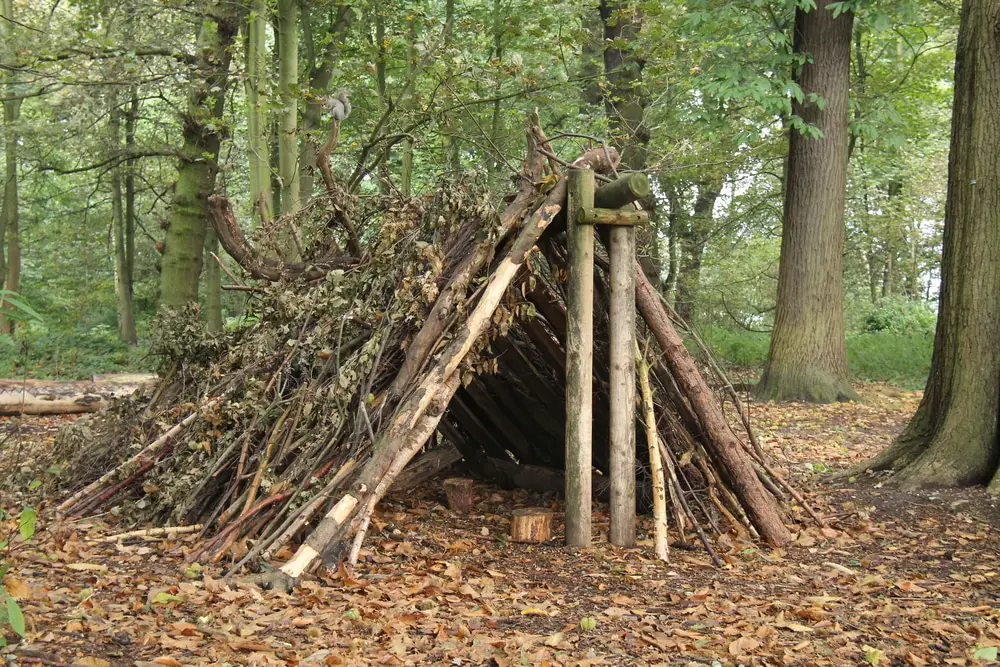
If you’re handy with an ax and lost in the woods then you can probably build a log tent. Log tents are a step up in the tent department as they can make for a warm winter camp, especially when caulked with moss or dry grass. Vegetation can be used as a substitute as well, insulating the inside of the shelter and keeping you warm.
Here’s a basic guide on how you can get started with making a shelter in the woods without a tarp or similar material:
You can create a suitable tent using logs and branches from trees, but it’s okay if you don’t have the time nor the patience for it. This is where buying a tent comes in.
E. Selecting Your Survival Tent
The invention of tents has single-handedly changed how we interact with your environment. It has changed the way we hunt and how we survive when we’re out on the great outdoors. Tents, by themselves, are remarkable pieces of technology and engineering.
Today’s tents are much more sophisticated than the ones from 10, 20 years ago. If it’s your first time to look at tents, you might find yourself quickly overwhelmed. But there’s a method to the madness in choosing the right tent. You just need to know which type of t
Things To Look For In A Survival Tent
By now you should have an idea on how you intend to use a tent and have pretty much settled on a budget. Take a look at some factors and features to look for when you’re buying a survival tent:
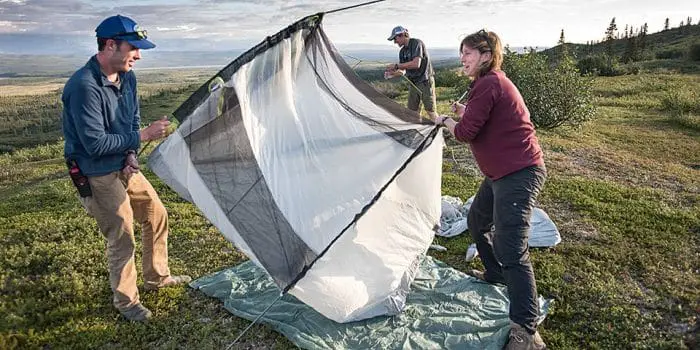
- Ease of Setup
Elaborate tents that take 15 to 30 minutes to set up should be out of the picture. The easier and more intuitive it is to erect, the better. Remember, the ability to create a shelter in just a few minutes can mean the difference between life and death.
- Weight
Huge tents may be great when you’re settled, but most of the time you’ll be stuck carrying it around. Remember, in backpacking and in survival situations, every ounce of weight matters. You’ll need a portable tent that won’t weigh as much and can still be serviceable in emergency situations.
- Shape
Shape won’t matter much unless you plan on trekking in places where there’s a high altitude; if this is the case then you should opt for a low-profile, aerodynamic tent.
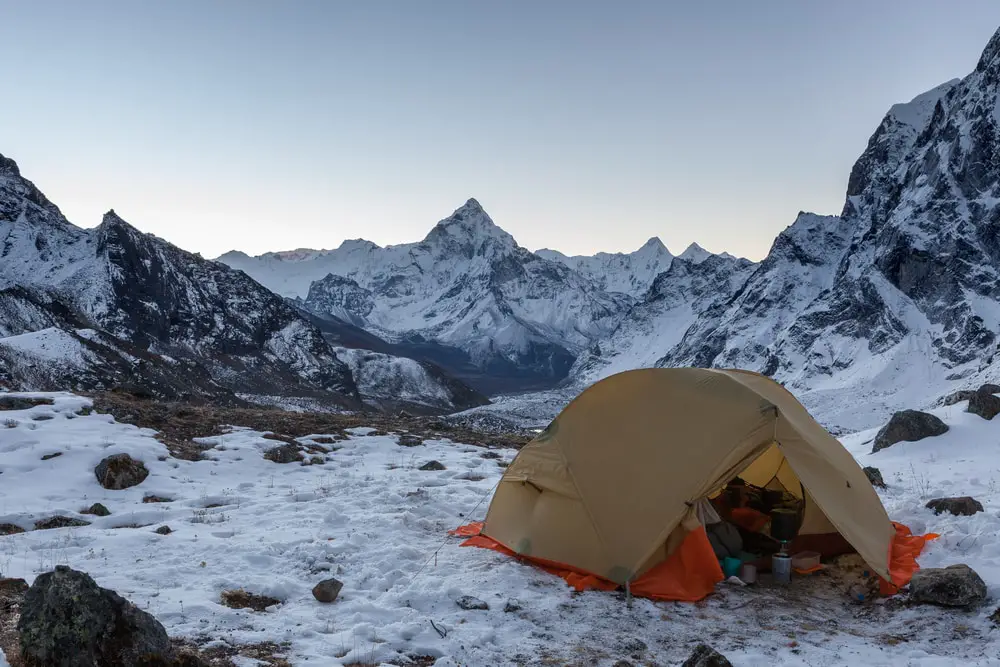
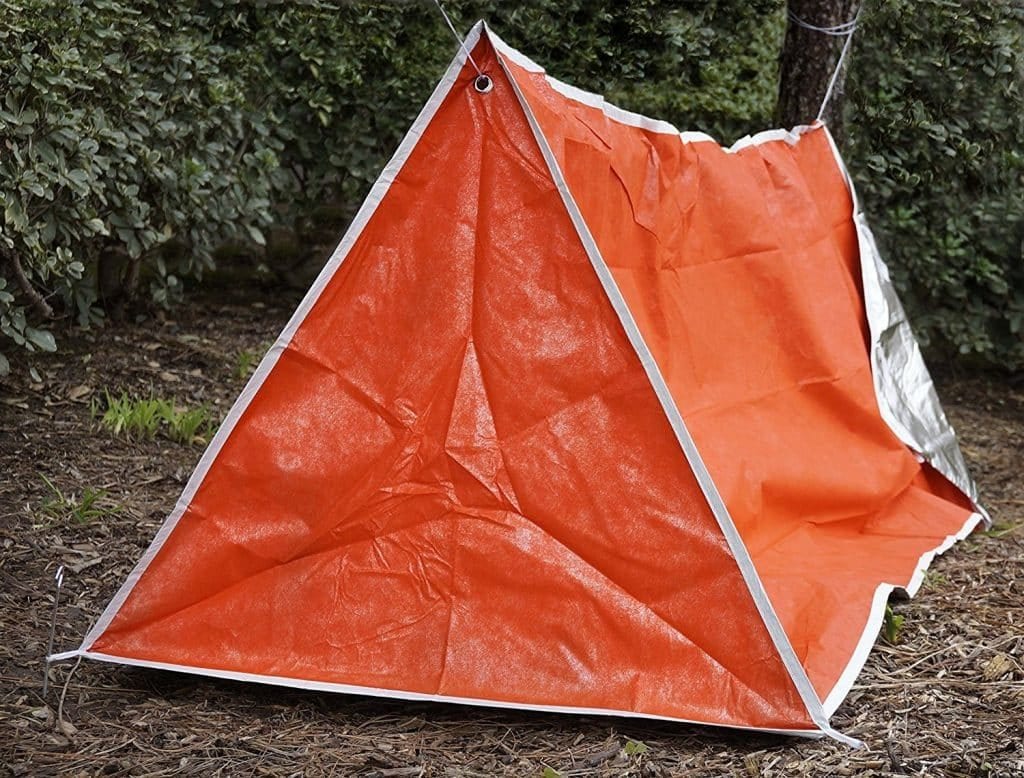
- Tent Color
In terms of survival, you’ll need to choose your tent’s color carefully. Do you want to stay hidden and camouflaged, or do you want to be seen and have a higher chance of being rescued?
In SHTF survival scenarios you will need a tent color that blends in with your immediate surroundings. Bright orange is the color of choice if you want to be very visible.
- Durability
Today’s fabrics won’t rip or tear easily as compared to the tents of yesteryear. However, some tent materials are tougher than others. The more extreme the environment, the more you need to make sure you have a highly durable tent.
- Rain Protection
For rain protection, either a rain fly or a waterproof wall will be the bare minimum. You wouldn’t want to be trapped in a wet, soggy tent or have the rain come in through holes, would you? Make sure you check the details and the type of waterproofing before you hand over your money.
- Vestibules
A vestibule is a particularly handy feature. It’s a small space where you can hang your muddy boots or clothes, away from the living area while still being inside and safe from the outside elements.
- Dimensions
The rule of thumb for space is that it should have enough for the intended number of occupants. If you plan on sheltering a family, then it makes sense to invest in a large tent that can fit everyone. Group tents range from small, single ones to temporary homes that can fit 8 individuals.
- Cost
The price range for tents can be very expensive or very cheap, depending on the brand and the type. Don’t skimp out on a tent or choose the cheapest one because you get what you pay for. It’s better to get a more expensive, known brand than one that’s unheard of in the market.
It won’t be easy to find the exact tent you’ll need. There are many things to consider when it comes to survival planning, after all. Your best bet would be to get several tents for several emergency scenarios:
-
-
- A tent that can fit your family
- A tent that you can use for backpacking trips
- A tent that you can use for camping
- A tent that’s specifically for bugging out
-
This will be a very expensive endeavor, though. If you don’t have the budget, then the next best thing is to get a tent that can meet several of your survival needs. One thing to consider is that being able to survive beats out any comfort or luxury feature. Like all the other survival equipment you have, it’s best to do a trial run to ensure everything works before heading out. Familiarize yourself with how the tent is set up and dismantled so you’ll know what to do.
F. The 10 Best Survival Tents
Survival tents are great additions to your bug out bag, emergency bag, prepper kit, zombie outbreak kit, day pack, roadside assistance, 72-hour kit, earthquake kit, etc. All of the tents in this list retain up to 90% body heat, thereby increasing your chances of surviving extended exposure.
In hotter weather, you’ll be able to turn the tent into shade or use it as a signaling tool for maximum visibility. Remember that these are best suited for survival situations and are temporary in nature.
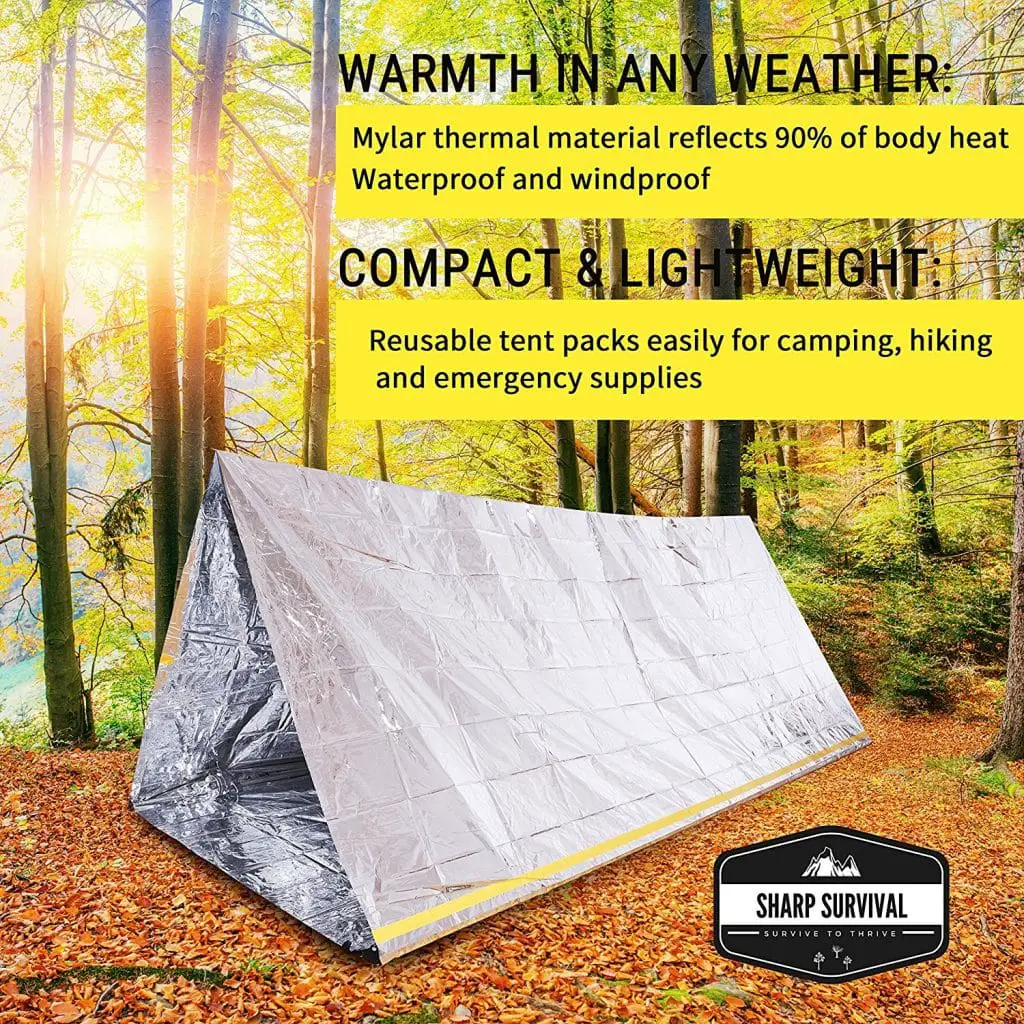
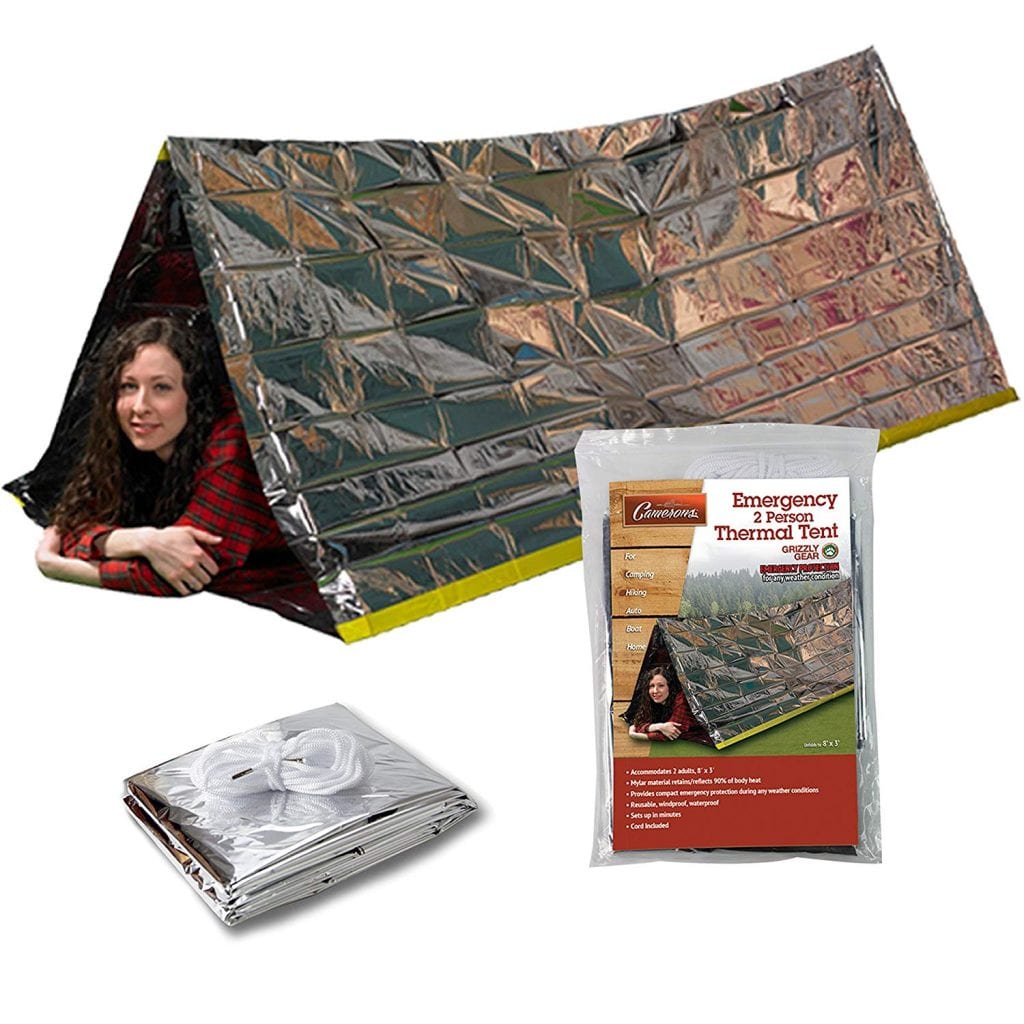
Measures 8 x 5 and works as a survival tent that can fit two people. The Emergency Survival Tent is an all-around tent that’s windproof, waterproof and made from durable mylar material.
It’s a reusable tent that can be brought anywhere due to its lightweight nature.
| 158.76 grams | 8.9 x 6.2 x 1 inches | 8 ft x 5 ft | Mylar Thermal Material | Waterproof | No Warranty |

- EMDMAK 3 in 1 Emergency Mylar Thermal Survival Tent
An all-weather tent type that can fit up to 3 people.
The shelter tent’s weight is around 6 ounces and the included sleeping bag is around 3 ounces.
The EMDMAK tent has a military-grade paracord included. In terms of weight and added features it’s one of the best in the list.
| 172.37 grams | N/A | 7.87 ft x 2.95 ft x 4.92 | NASN Mylar Material | Waterproof | No Warranty |
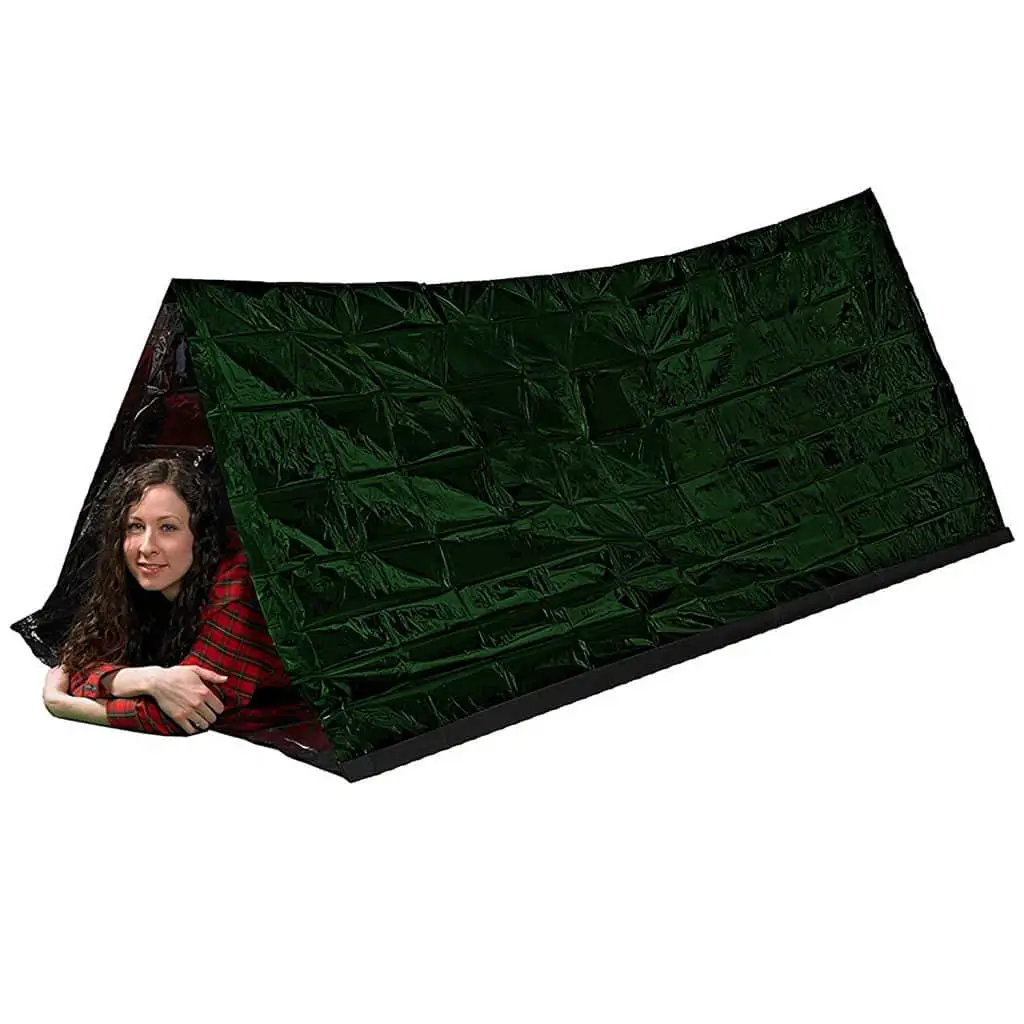
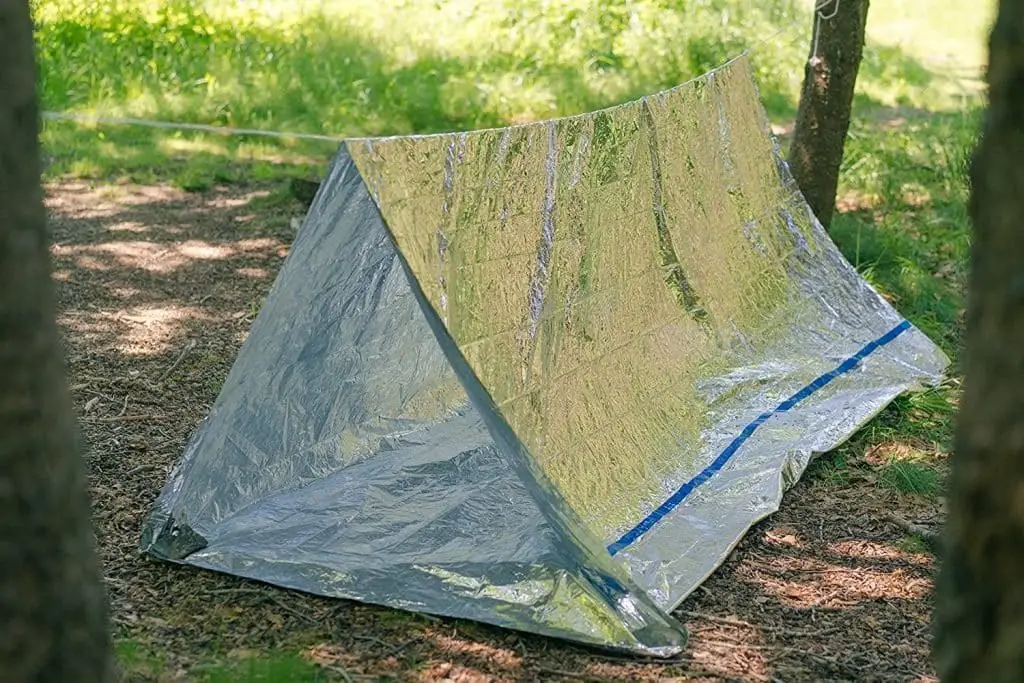
The first thing you’ll notice about the material is the thickness. The mylar thermal material is windproof, waterproof and great at catching the light and reflecting it back.
The whole thing has an equivalent weight of a regular-sized apple. Unfurled, the dimensions extend to about 8 x 5 feet to shelter 2 adults. You get 20 ft. of ultra-light nylon rope along with the purchase.
| 153 grams | 6.5 x 9 x 0.6 inches | 8 ft x 5 ft | Mylar Thermal Material | Waterproof | No Warranty |
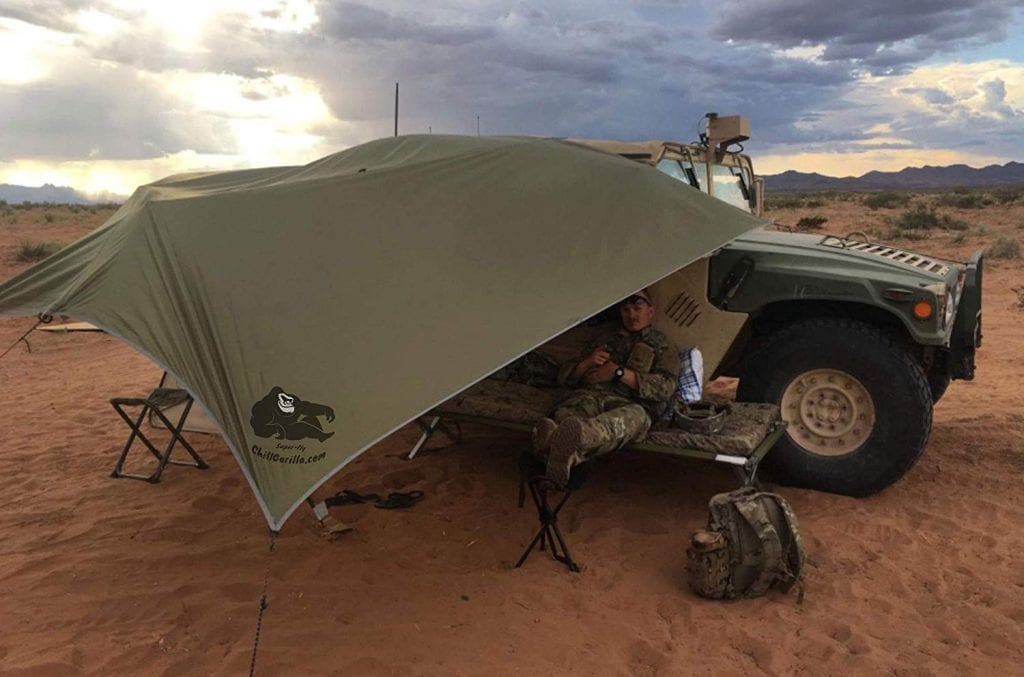
Works against sudden downpours and emergency situations while you’re out in the wild. The polyurethane nylon material is durable, lightweight and puncture and tear-resistant.
The tent assumes a square shape and has loops and grommets which gives you the option to choose myriad anchor points. The whole package only weighs in at around 1.4 lbs.
| 635 grams |
12 x 4 x 3 Inches |
10 ft x 10 ft |
Polyurethane-treated Ripstop Nylon | Waterproof | No Warranty |
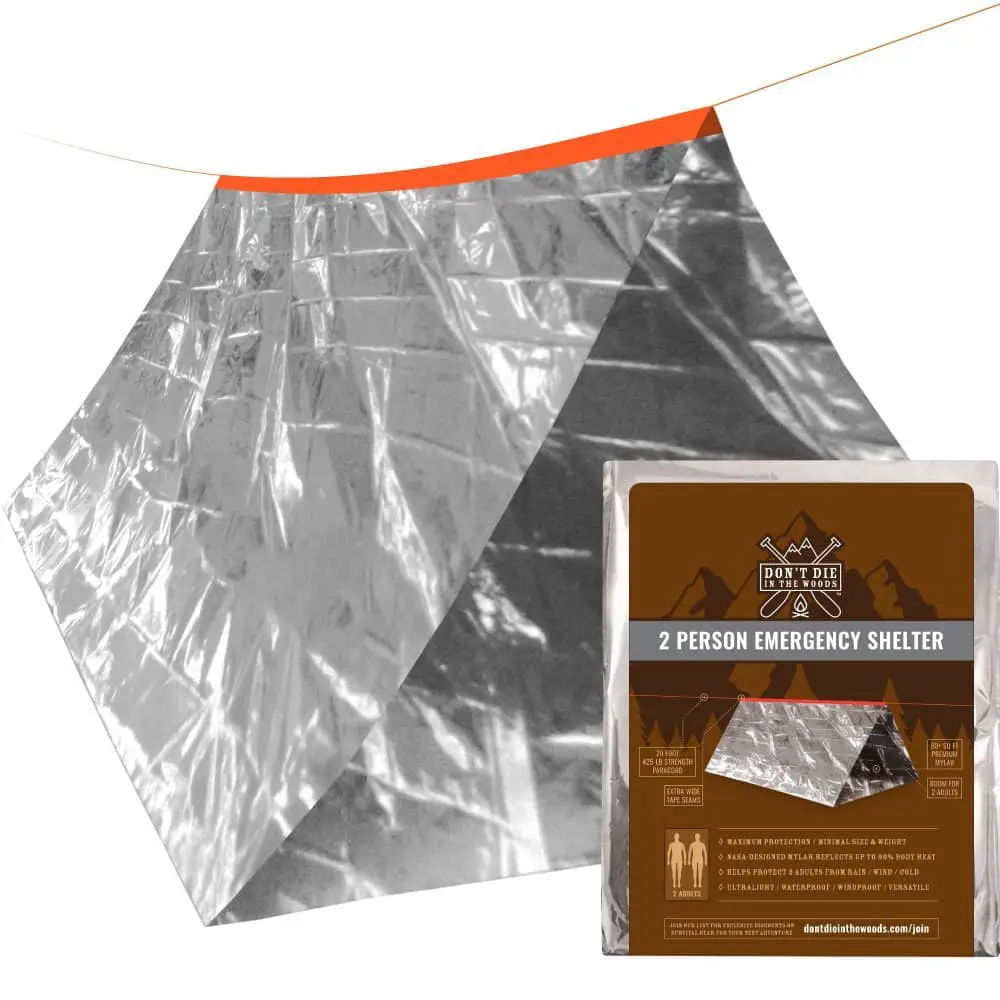 Don’t Die In The Woods Survival Suite
Aside from the catchy, clever branding, you get a NASA-designed mylar material that protects up to 2 adults from wet, cold or hot weather.
In the Don’t Die In The Woods kit, you get a 425 lbs strength paracord and some reinforced tape for securing your tent during harsh weather.
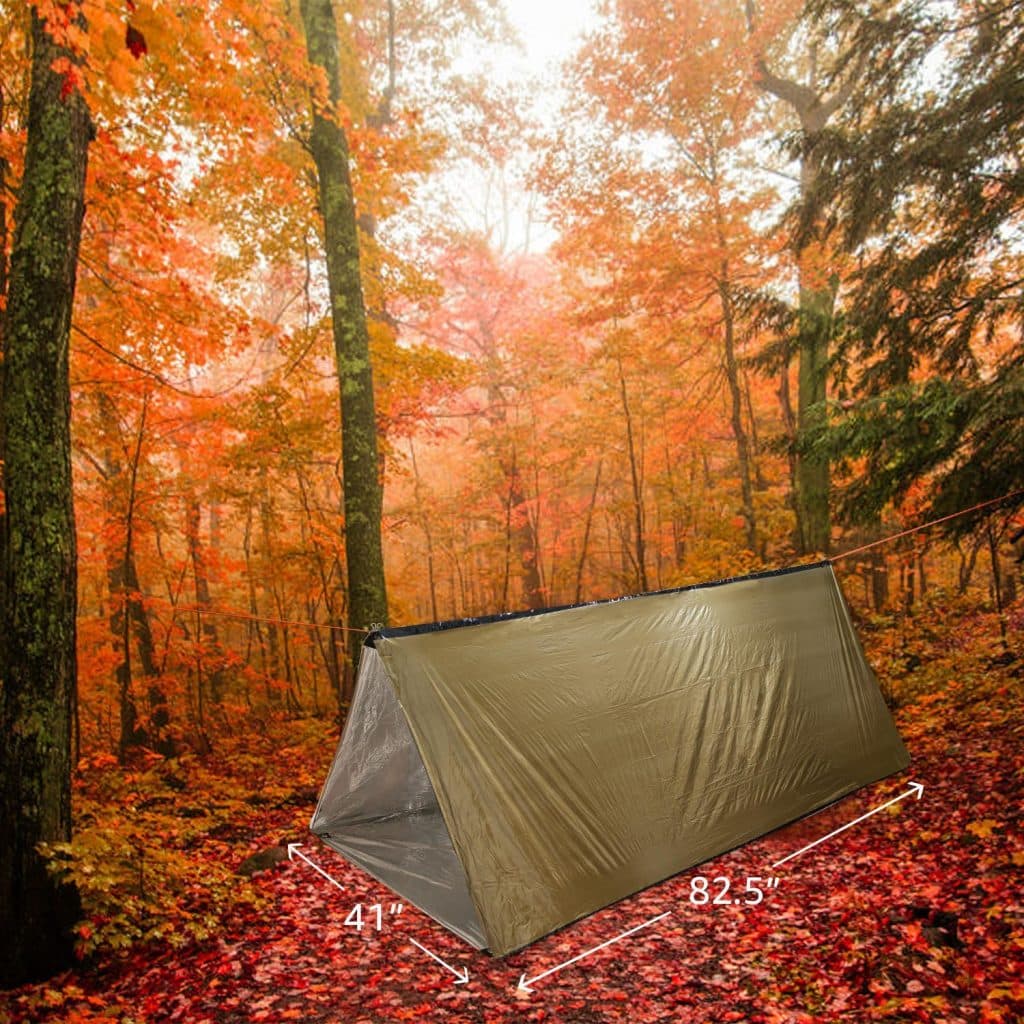
Billed as the “Toughest Ultra-Light Emergency Tent” in the market, the Heatflex Mylar material is flexible and tougher than regular mylar.
The tent holds up well on all-weather, be it hot, cold or snowy. The seams are reinforced with tape to hold up to extra abuse. Use it as an emergency bivey, a sleeping bag or a space blanket during times of need.
| 150.23 grams | 11 x 7.5 x 0.5 inches | 8 ft x 5 ft | Heatflex Mylar Material | Waterproof | No Warranty |
Survivor X fits 2 adults and offers superior design from other tents. You get space blanket material that’s lightweight yet tough and anchoring from the 4 bottom corners for improved stability.
The Survivor X tops out all the other tents in this list as it can retain up to 99% of your body heat.
| 92 grams | 7.9 x 5.9 x 0.78 Inches | 8ft x 3ft | Thermal Mylar Material | Waterproof | No Warranty |
This tent comes in with bonuses such as a reflective mylar sleeping bag, a blanket, and a shelter tube.
The BlizeTec Emergency Bivy includes a velvet bag that fits the entire tent for carrying around. What’s more, you get the BlizeTec warranty and proof of purchase.
| 81.65 grams | 78.7 x 0.5 x 41.3 inches | 5 ft x 7.83 ft | Thermal Mylar Material | Waterproof | 1 Year Warranty |
 LYN Emergency Survival Mylar Thermal Shelter Tube Tent
Stronger than other aluminum tents, the 2-person shelter tube tent from LYN comes with 4 plastic stakes and 4 iron buckles that can secure the tent into the ground.
Setup only takes a few minutes and the tent keeps you safe and sound on any weather. The material is tough and fireproof; the tent can serve as a wild blanket, a tarp or even as a makeshift raincoat.
| 280 grams | N/A | 3.42 ft x 6.87 ft | Thermal Material | Waterproof | No Warranty |
The SE Outdoor Tent can be made into a sleeping bag, a tent with a sleeping bag, a tent with a blanket or a tent with both a sleeping bag and blanket.
The interior material is coated with aluminum for retaining body heat for a longer time. Set up is easy and it only takes a few minutes. It’s useful and made of high-quality parts and material.
| 725.7 grams | N/A | 6.8 ft x 3 ft | Aluminum Coated Material | Waterproof | No Warranty |
G. Proper Care For Your Survival Tent
Take a moment to look at the care instructions of your tent. You must be aware that each tent is different in terms of care and maintenance. Ruining the material or the features before you get to test it out on the field will be a waste of your investment.
Be gentle with the most important parts of the tent, i.e., the poles and moving parts such as the zipper. While they may be easy to replace in normal circumstances, a break during emergency situations can spell disaster.
Do not put away a tent while it’s still wet. Your tent may still be wet from the damp atmosphere, from the rain, snow or the cold. Allow sufficient time to air-dry your tent before folding and packing it in. Moisture is a tent’s worst enemy- when given time, mold and mildew will appear, which isn’t good for your health and safety.
Store your tent by rolling it tightly and in a neat bundle. Don’t put it inside the sleeping bag because the tent fabric or material might crumple and crease, which may result in a structural weakness, especially with nylon. Rolling it up serves to eliminate any wrinkles and keeps it durable.
1) Protect From Underneath
You can extend the lifespan of your tent simply by placing a layer of protection every time you set it up. Most tents will have their own individual footprint you can get as an add-on, but there are some standard-sized 3rd party prints you can get as well. You can also get a tarp that doubles as both a protective ground layer and a makeshift tent in a pinch.
2) Avoid Prolonged Exposure To Sunlight
Sometimes leaving your tent to the mercy of the elements is unavoidable, but you should keep an eye out for times where it can be avoided. Keep a shade over your tent whenever possible. You’ll need direct sunlight to effectively air out the tent, but long exposure to direct sunlight can change the material’s waterproofing feature.
3) Shake Then Store
You won’t want to track dirt, mud, leaves and stray insects inside the tent. Leave your boots outside, for shoes can cause a tear in the tent’s flooring. Before packing up the tent you should give it a good shake. Get all the twigs, small stones, and insects out before you store it. This practice prevents you from cleaning up your tent more than you should.
4) Regular Tent Cleaning
Do not put your tent in the washing machine, or else it will be ruined. Modern lightweight fabrics can keep rain and wind out, but they won’t survive a tumble from a washing machine.
Use non-detergent soap mixed with cold water and a sponge to wipe the interior and exterior of your survival tent. Scrub off caked mud and dirt and any mold or mildew you find along the way. Check the seams and zippers and wash them as needed. Wipe down the tent and air-dry it in direct sunlight. The UV rays naturally kill the bacteria and germs you’ve accumulated from the last expedition.
As with all things, proper care and maintenance will extend the lifespan of your survival tent. Make your investment last longer by taking proper care of your tent.
