I love throwing knives at a target for fun. I find it to be a great way to relieve stress while building a survival skill.
My throwing skills have advanced greatly just through casual backyard throwing.
The knife thowing target I will show you how to build is the most versatile and long lasting.
It is sturdy enough to handle not only knives, but lighter axes and hatches as well.
| Quick Navigation What You Need Optional Materials Instructions |
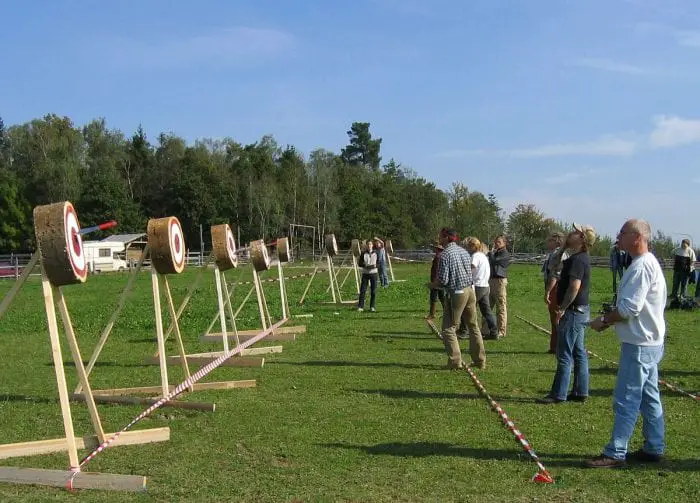
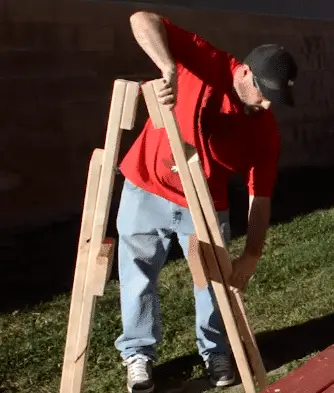
Throwing Target Stand
I finally decided to upgrade the design of my throwing target. The old design used 2×6’s for the target, tipped over too easily and needed to be replaced at least once per year.
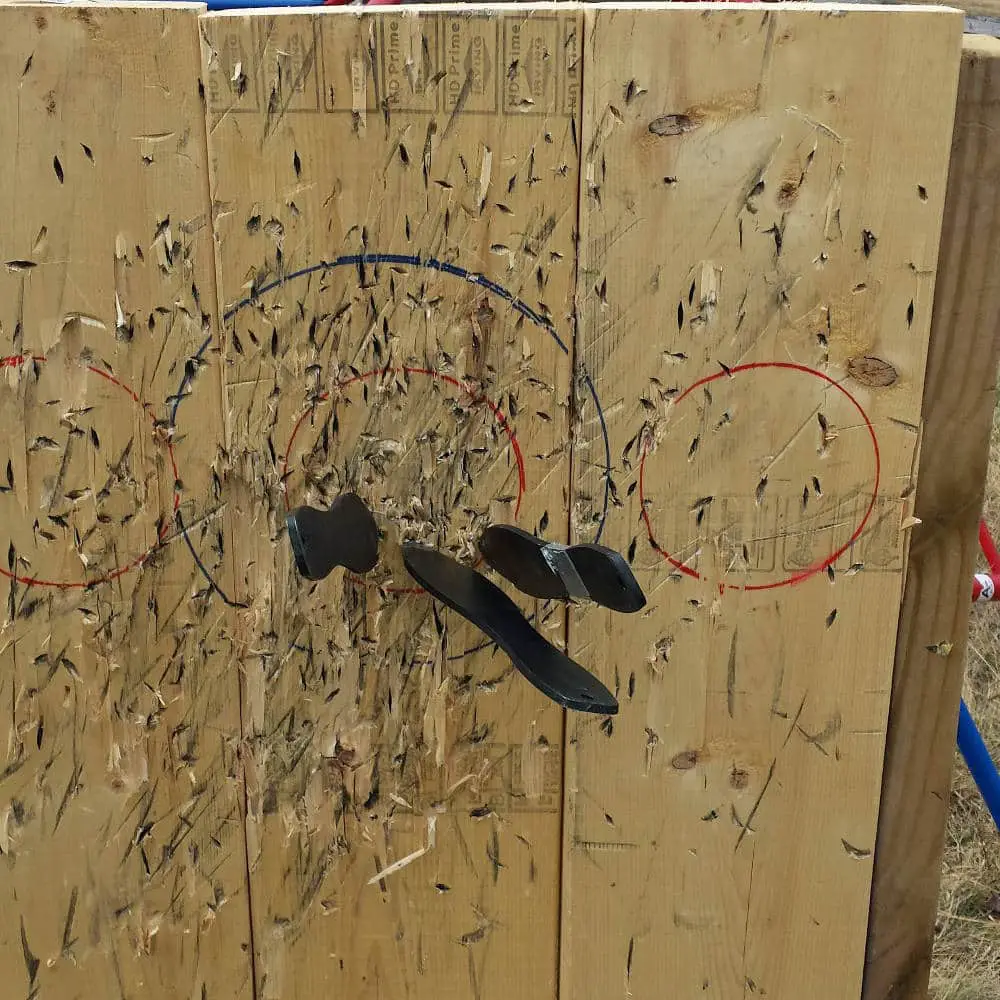
You can see the abuse that one day of throwing does to this target. One good season of practice and the throwing knives reduced this target was a pile of toothpicks!
The New Throwing Target Stand
What You Need
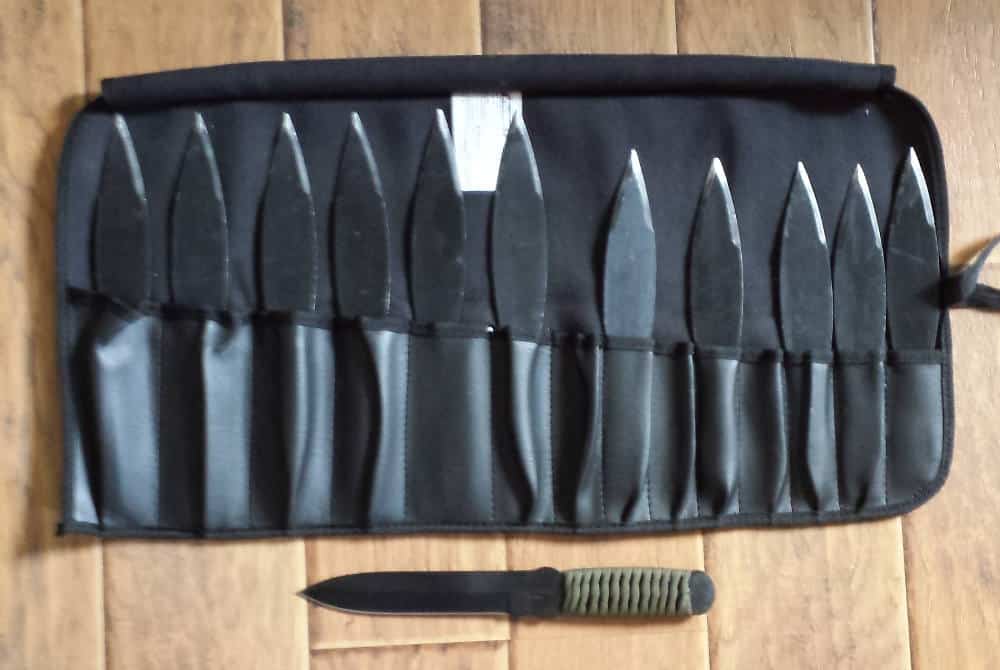
If you don’t already have throwing tools, I recommend Cold Steel throwing knives nicely dressed in a roll up case for the knives protection, and your own.
- Sure Flight – 12 inch
- Mini Flight – 10 inch
- True Flights – 12 inch and paracord wrapped handle (can be used as a knife)
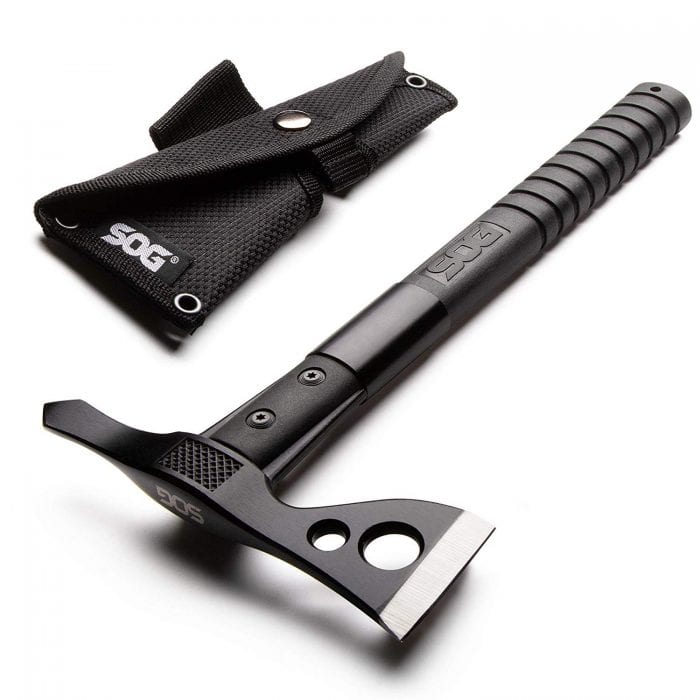
It’s nice to switch it up and avoid over-repetition with the knives, and pick up a tomahawk throwing axe that has a heavier feel. For that, I recommend:
- SOG Fasthawk Tomahawk Throwing Axe
Ok, now onto materials you’ll need to build the target and stand itself:
- 4 8-feet long 2x4s
- Pilot hole drill bit
- 33×48-inch backer board
- Eye protection
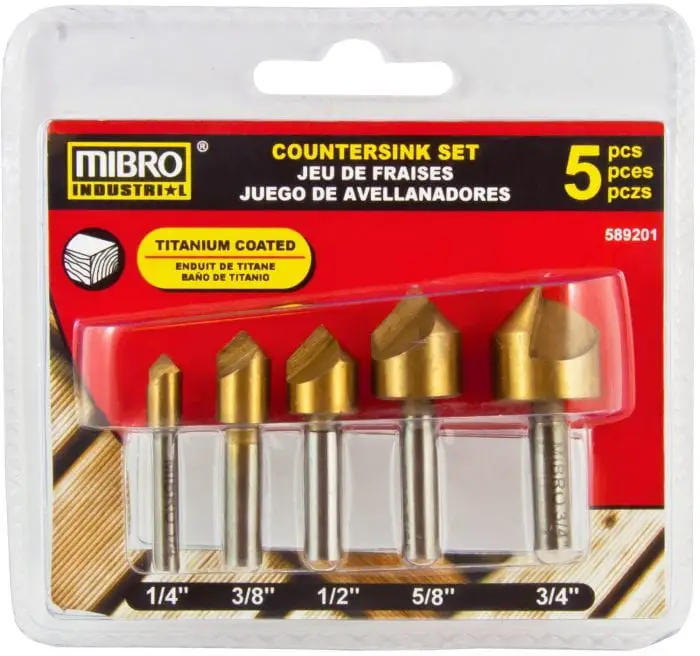
- Countersink drill bit
- 2.5-inch screws
- Wood glue
- 120-grit sandpaper
- T-square/straight edge
- Pencil
- Ruler/measuring tape
Optional Materials:
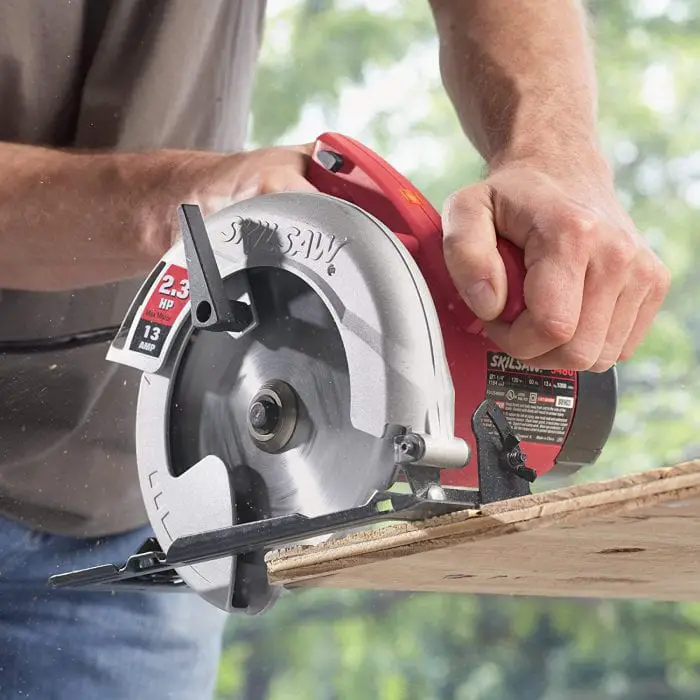
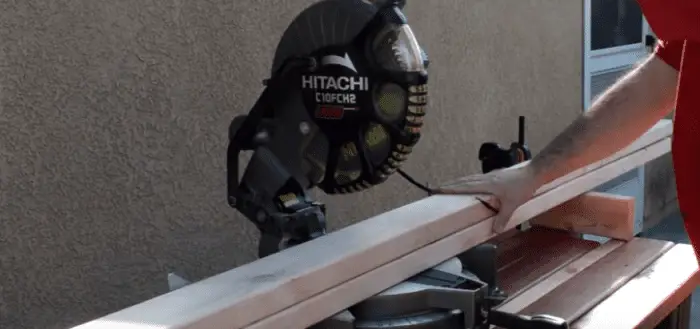
- Circular and Miter Saw
- Adjustable bar clamps
- Foam brush
- Black spray paint
- Sanding block
- ITS logo stencil
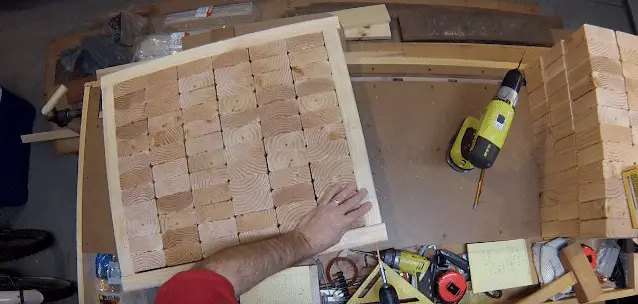
Before starting, keep in mind that this throwing target consists of a max of 72 blocks enclosed in a 2×4 frame.
I created 6 rows of a dozen blocks with each one measuring 2×4 in width, which is basically around 3.5 inches x 1.5 inches. In simpler terms, the blocks should be 72 cuts of around 3.5 inches each.
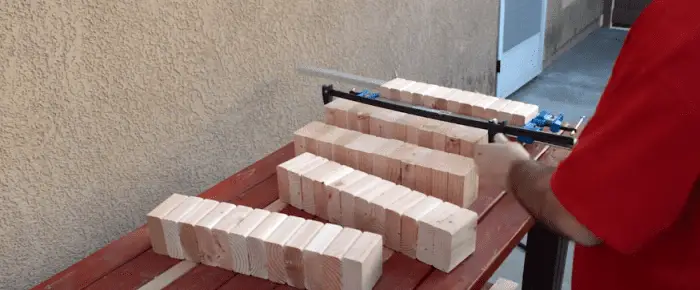
1. Measure all the blocks and cut them using the miter saw. Each cut should be close to 3.5 inches. Clean the edges of each cut by sanding them briefly. Line up the dozens of blocks you have cut. The edges where you make the cut should face you. The front edge should be even while the stack that you have lined up should be around 18 inches.
2. Reach to the first block then flip it to the right. Apply the glue. Stack every succeeding block over the next until you assembled the entire twelve blocks. Use the T-square/straight edge to check the prepared stack then let it dry while being held by the bar clamp securely.
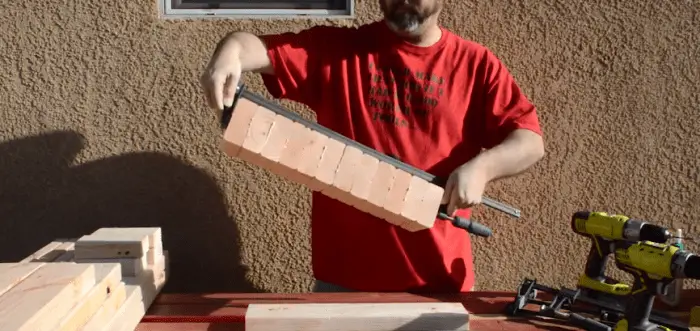
3. Do the same steps for the remaining five stacks composed of a dozen blocks. The result should be 72 blocks glued together in 6 stacks composed of a dozen of them. Every formed stack needs to be around 18-inch x 3.5-inch once you glue the blocks together.

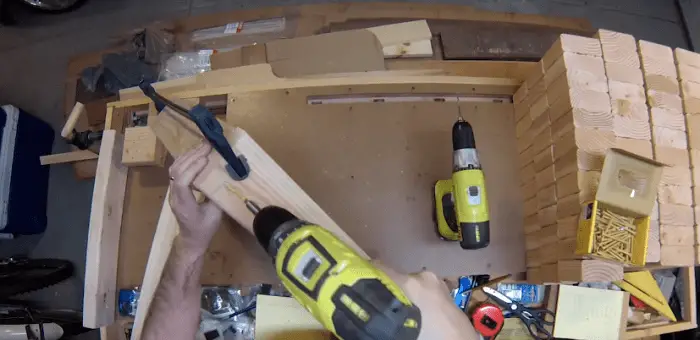
4. The next thing that you have to make is the outer frame composed of two 24-inch long 2×4 forming both sides as well as two 18-inch long 2×4 for the bottom and top. Get one 18-inch long 2×4. Put six stacks on top while making sure that the edges where the cuts are seen face forward. Get the other 18-inch 2×4 then put it on top.
5. Press down the 18-inch 2×4 on top then use the drill bit to drill three pilot holes. Make sure that the holes are spaced evenly. Follow up the holes using the countersink bit. The pilot holes are essential in ensuring that the wood does not split up upon putting in each screw.
6. After securely holding the top 18-inch 2×4 in its place, flip over the whole target. Do the same thing to the 2×4 on top. Your goal is to drive in three additional screws as a means of holding the 2×4 into the stack beneath it.
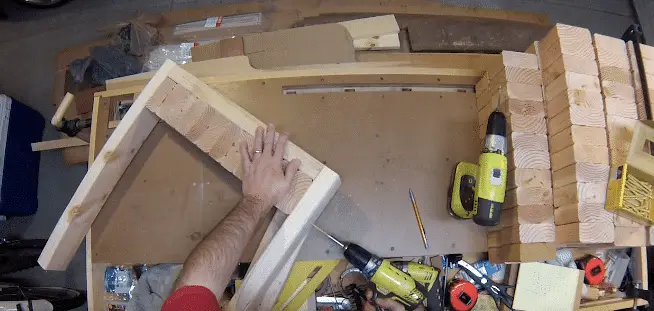
7. Put one 2×4’s 24-inch section on the ground then allow the target to be flipped sideways into it, making it it’s bottom temporarily. The other 24-inch section should then be placed on the new top part of the throwing target. Drill a couple of pilot holes on all ends of the longer sections (2×4). This is to keep the 18-inch sections secure and make the frame. Follow the drilled holes with the screws and counter sink.
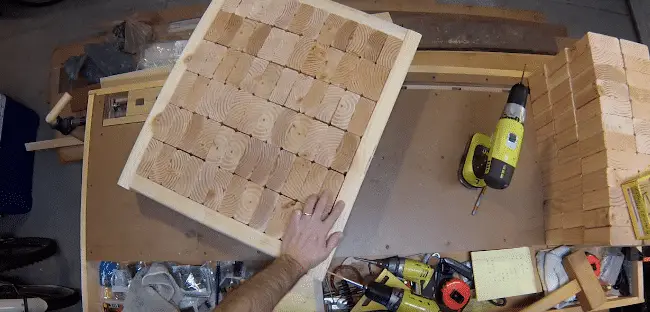
8. Drive a screw into the six stacks composed of block, holding every stack and giving you the chance to replace a target’s section in case one of them gets damaged. Use a screw to secure every stack.
9. Once done, you can mount the finished knife-throwing target into a 33-inch x 48-inch backer. You can take this backer from cutting a part of a particleboard sheet. Spray the black paint spray into the backer then put it over the target’s back part. Drill a pilot hole on all the backer’s corner then add screws to secure them.
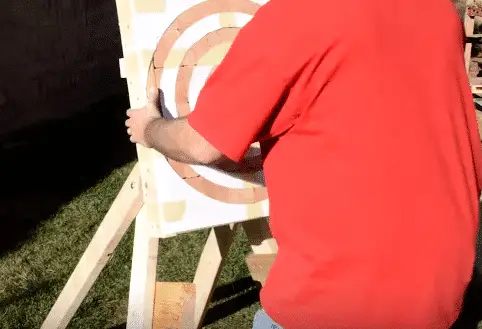
10. Once done, just mount the backer to any appropriate wall. Note that this target is slightly heavy, so it is advisable to add a wall anchor into all corners designed to support the weight.
Now that you have your throwing target fully build and ready to take some abuse, it’s time for the fun and patience to begin. Remember, stick with it and be consistent. It’s easy to get frustrated in the beginning, so take small breaks instead of giving up, and return to it after short periods.
In addition to this build, I you can check out other knife-throwing targets using simple target material – among which are thick cardboard, lumber, dead logs, and hay bales.
The target YOU build is only limited by your creativity so get busy building so you can get busy throwing.
Hello! I don’t think I am clear on a step and may be missing something. In the beginning of this guide it says the materials are for the target and the stand, but after reading through all of the steps I can’t seem to find any instructions on how to make the stand. Do you have a guide on how to do that?
I’ve read the instructions and all. But I was wondering if there was any instructions on PDF format that I could print out??
As much as I try I can’t print these out and this is exactly what I need for my personal throwing
John the inventor here.
This is an excellent way to do a knife throwing target.
Mine has a 24” x 36” backer board with a 1” x1” x 20” board screwed to the backer board. Got this about two inches from the bottom of the board.
This allows me to clamp the backer board in a work mate and use that as a moveable stand.
Again thanks for the plan.