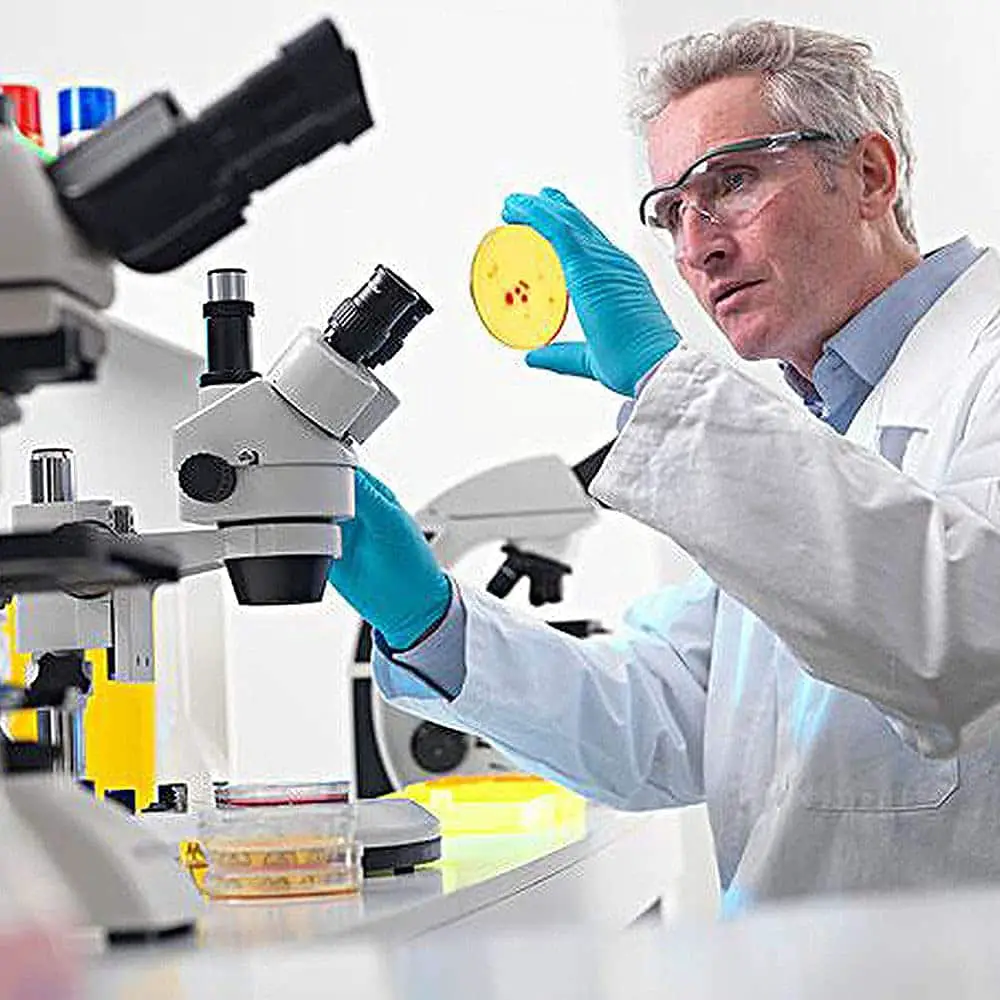
When you’re a survivalist, you’d want to be prepared for every single thing that could go wrong. That includes getting sick without access to any type of medication.
If that’s the case, you’re probably wondering how to make penicillin at home. While the process is relatively easy, it doesn’t come without any risk.
So before you go ahead and start making penicillin, make sure to read this guide first until the end.
What is Penicillin?
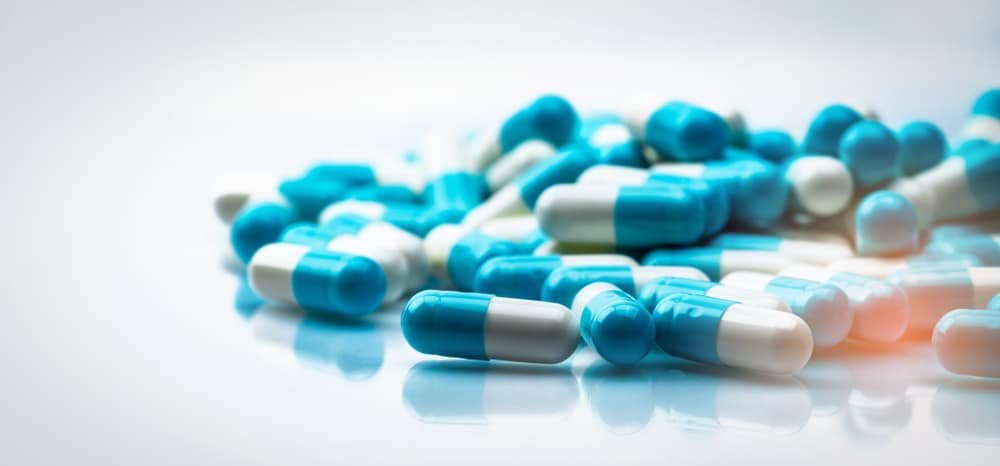
Penicillin is considered the most famous antibiotic.
That fact isn’t surprising given that the drug was the first antibiotic discovered. It has been used to save millions of lives.
Penicillins are antibacterial drugs that work really well in eliminating a wide range of bacteria. Globally, they are used to treat diseases and infections.
Now, how do they work?
Penicillin acts indirectly on bacterial cell walls, particularly peptidoglycans. These are structural elements responsible for creating that mesh-like structure that strengthens cell walls so that no external particles and fluids can get inside.
When bacteria multiply, their cellular division causes small holes to open up. Newly released peptidoglycans work to reconstruct the walls.
Penicillin interrupts the process by acting on the peptidoglycans. As a result, bacteria are left with open holes. These openings allow water to rush inside the bacterial cells, causing them to burst.
The Accidental Discovery of Penicillin

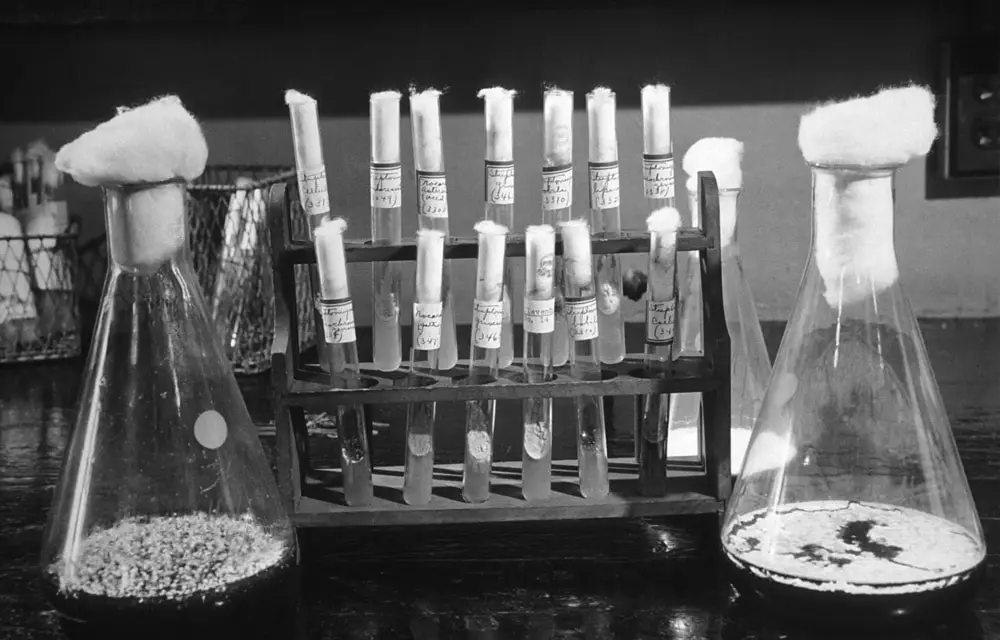
Penicillin was discovered by Alexander Fleming by accident.
At that time, he lost his assistant. Since he was busy with his experiments, he had little time to clean up.
Whenever a dish of bacteria was no longer useful, he’d put it in a tub of bleach. With no assistant, his dirty dishes started to pile up. Those that sat above bleach had grown filthier.
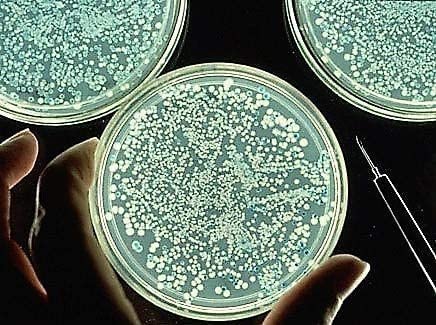
However, upon further examination, he noticed that the dishes stopped growing filthy. The mold killed off the bacteria.
What is Penicillin Used for?
Penicillin is the first antibiotic drug discovered. It has been around for several years already.
Because it’s commonly used, a lot of bacterial species have become resistant to it. Despite that, it’s still useful for a handful of bacterial infections.
Penicillin works really well in treating skin infections caused by Staphylococcus aureus and other gram-positive bacteria. They are also recommended for treating scarlet fever, and bacterial endocarditis.
Penicillin Side Effects and Allergy Warnings You Need to Know
Like with most antibiotics, side effects happen with penicillin. While some are mild, others are severe and may cause serious effects on your body. This makes it important that you understand the risks first before learning how to make penicillin at home.
If you experience any of the following after taking penicillin, be sure to call your doctor right away:
- Flu-like symptoms, fever, body aches, chills
- Watery or bloody diarrhea
- Unusual weakness
- Easy bleeding or bruising
- Severe skin rash, peeling, or itching
- Not urinating
- Confusion or agitation
- Seizures and convulsions
Some of its less serious side effects include:
- Headache
- Nausea and vomiting
- Stomach pain
- Hairy, black, or swollen tongue
- Oral thrush
- Vaginal itching
What Penicillin Can’t Do
Successfully making your own penicillin at home isn’t a guarantee that you’ll have antibiotics that can treat all infections.
Although you can use penicillin to treat several types of respiratory, throat, and skin infections, it’s not the drug of choice when it comes to urinary tract or tooth infections. It may also not work well in treating ulcers.
Plus, penicillin isn’t effective against antibiotic-resistant bacteria. This is a huge problem because so many bacterial strains have already gained resistance against it.
Another reason why it’s not ideal to make penicillins at home is the list of things you’ll need to make them. If you’re like most people, you probably don’t have Petri dishes and pH testers lying around at home.
How To Make Homemade Penicillin
Now that you have a basic understanding of what penicillin is and what it can and can’t do, you’re ready to make your own at home. Below is a list of things you’ll need:
- White bread
- Yeast extract
- Cantaloupe
- Citric acid
- Agar
- Powdered milk
- Sugar
- Sea salt
- Hydraulic acid
- Piece of cloth
- Petri dishes
- Erlenmeyer flask
- Ziplock bag
- Bottle spray
- Thin metal wire
- Graduated cylinder
- PH tester
- Ethyl acetate
- Separator funnel
The Steps
Once you have everything ready, you can start working on your homemade penicillin.
1. Growing the penicillin
To start, you’ll need to put your white bread and cantaloupe in a closed container like a ziplock bag. Make sure that it’s not airtight. You can create a really tiny hole at its end.
Then, placed the bag in an area that gets very little light. It’s best if you put it in a dark environment.
2. Preparing to purify the penicillin
After three days, you’ll start seeing mold formations. Sprinkle or spray a tablespoon of distilled water over your bread.
At this point, you can get your cantaloupe and start cutting it into thin slices. Place them in an airtight container with distilled water. Take note that you can’t use plastic for this part.
Boil the container for about 30 minutes. After that, you can set it aside to cool down a bit. Once it’s cool enough, you can open the container and filter the liquid. You can use a flour sack towel or a cheesecloth for this.
Then, add about 20 grams of agar and sugar to your liquid. If you don’t have agar in your kitchen, you can use plain gelatin.
The purpose of adding agar is to thicken your liquid. You can now add more distilled water so you’ll get the total volume to one liter.
3. Purifying the penicillin
Once you’ve completed the previous steps, you can transfer the liquid into your Petri dishes.
Get your penicillin mold. Take your wire and use it to move three small slices for each container.
Transfer your penicillin. Remember to sterilize the flask first before using it. One way you can do that is to put it in an oven first. Set it at 315 degrees and heat it for about an hour.
Then, combine a teaspoon of sugar, milk powder, citric acid, sea salt, and yeast into your graduated cylinder. Fill it with distilled water until you’re able to reach 100ml.
Pour it into the Erlenmeyer flask and start shaking it until everything’s liquid.
The next part is extracting penicillin. You can do this by removing any solid part of the liquid first. You can filter it through a piece of cloth to make sure it’s just pure liquid you’re transferring to a different container.
Get your hydraulic acid and add a few drops of it to the liquid. Continue doing this step until you get 2.2 on your pH tester.
While you are doing that, you can freeze your ethyl acetate. Then, mix it with your acetate using a separator funnel and shake for about 30 seconds.
The two should separate again. Once that happens, open the separator funnel and let the ethyl acetate slowly flow up into a different container. Add about 1/100 of the amount you used for the ethyl acetate.
Keep it in a ventilated area to allow it to evaporate and you’ll have your penicillin ready.
The Simpler Method
Another way to make penicillin at home is by growing penicillin fungus.
For this method, you’ll need to get a slice of bread and let it sit in a dark place. Make sure that it’s exposed to the air and there’s normal to high humidity. The temperature should be at 70 degrees Fahrenheit.
After 7 to 14 days, you’ll start seeing bluish-green mold developing. It’ll usually start out gray but as the process goes on, you’ll see the mold turning bright blue-green.
Once you notice that happening, cut your bread into smaller pieces and put them in a sterilized flask. Allow it to incubate under the same conditions for about a whole week.
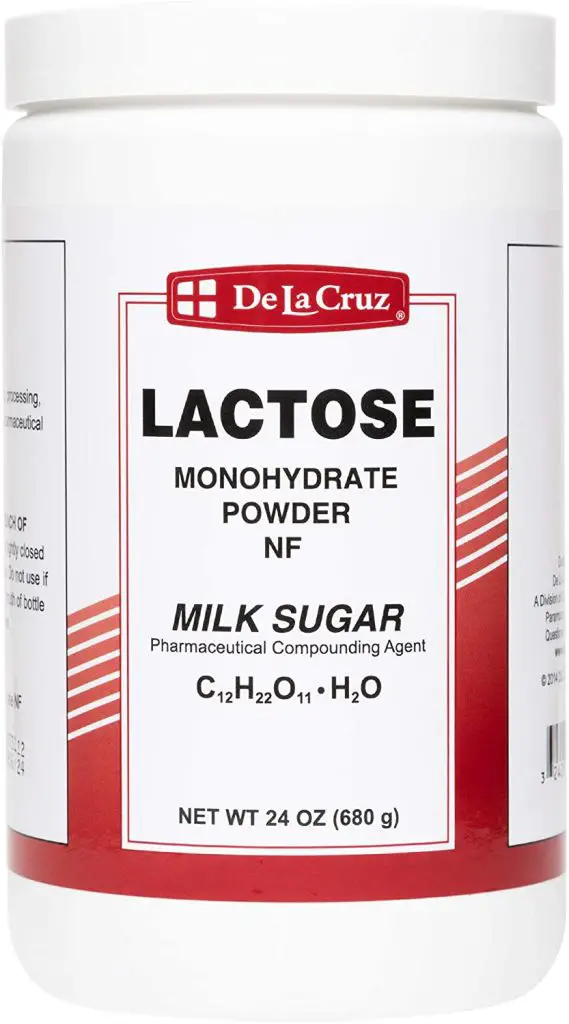
The next thing you have to do is prepare the solution that’ll separate the penicillin from the fungus. For this step, you’ll need the following:
- 44g lactose monohydrate
- 25g cornstarch
- 3g sodium nitrate
- 0.25g magnesium sulfate
- 0.50g potassium phosphate mono
- 2.75g glucose monohydrate
- 0.044g zinc sulfate
- 0.44g manganese sulfate
Remember this list since you’ll need to dissolve the ingredients into 500 ml of tap water following this order. Make sure that it’s cold.
Once you’ve properly dissolved everything, you can add more cold tap water to make a liter.
The solution needs to have a pH level between 5.0 and 5.5. To adjust its pH, you can use hydrochloric acid.
To separate the penicillin, you need to pour your solution into milk bottles. They should be sterilized to ensure that you get the best results.
You don’t have to use a huge amount of the solution. You will only need to add enough so that when you place the bottle on its side, the media won’t touch the plug.
Then, add about a tablespoon of the spores.
Incubate your bottles at 70 degrees Fahrenheit. Leave them alone for a whole week.
If you’ve successfully produced penicillin, you’ll be able to see it in the liquid part of the solution you’ve made. Use a piece of cloth to filter it.
Once you’re done, refrigerate your bottles as soon as you plug them.
Similar to the first method, you’ll need to add drops of hydrochloric acid to adjust the solution’s pH level to 2.2. Then, mix it with cold ethyl acetate in your separator funnel before shaking well.
Drain the ethyl into a beaker and repeat the steps. Add about 1% potassium acetate and carefully mix.
Allow the ethyl acetate to evaporate. Once that happens, you’ll have your penicillin in the remaining powder.
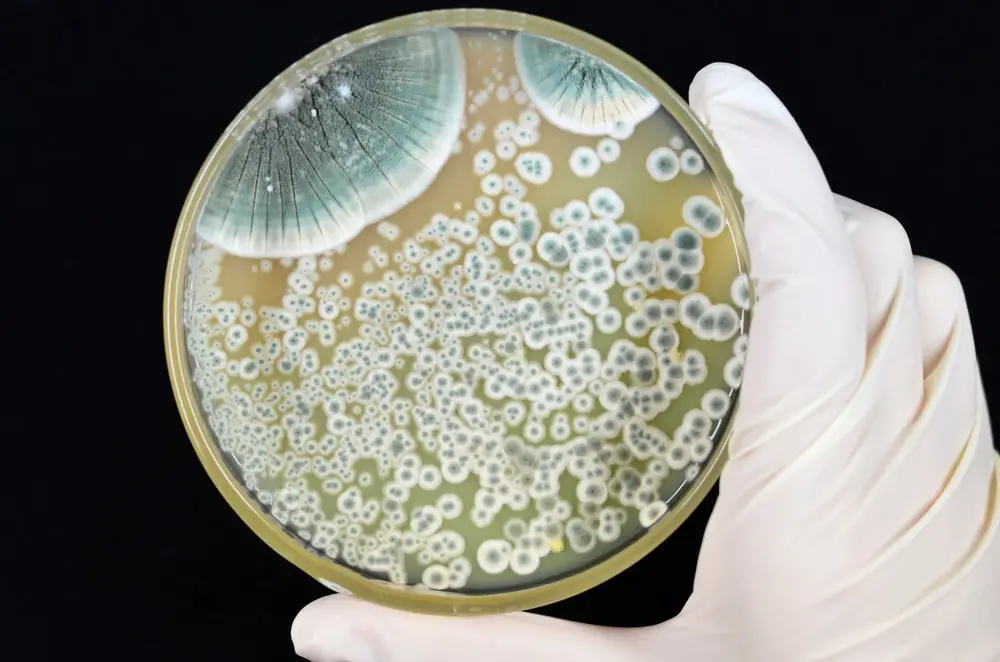
Testing Your Homemade Penicillin
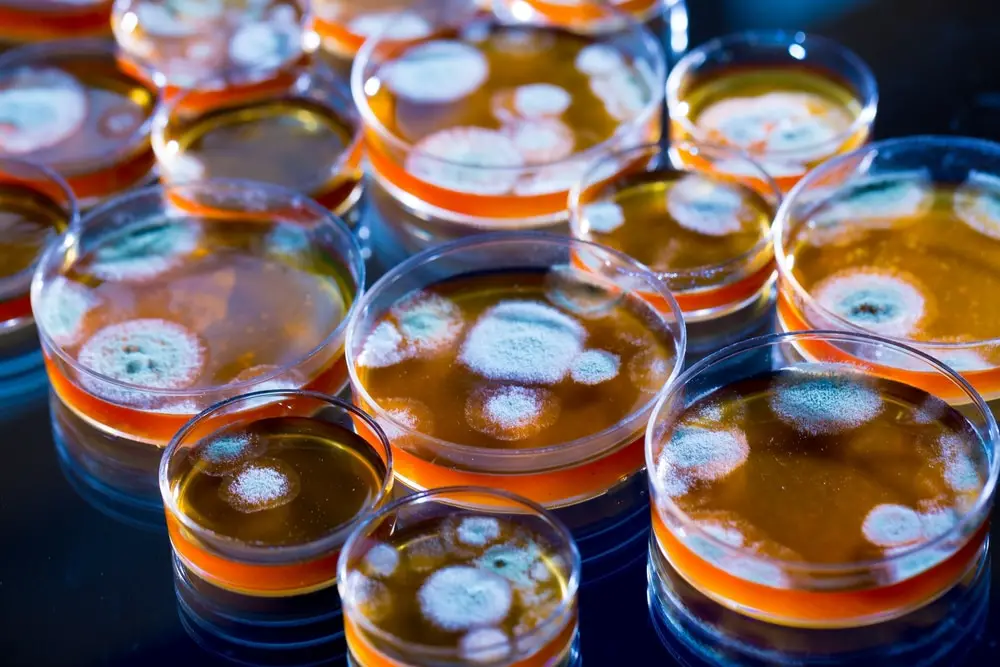
Growing bread mold doesn’t mean you’ve successfully made penicillin at home. To make sure you got it right, you need to do a test.
Take a petri dish and make a mold of agar. Create tiny depressions on it and add drops of penicillin broth into every depression. Inoculate with bacteria that are susceptible to penicillin.
Create another mold of agar on a second petri dish. And similar to the first one, create several tiny depressions on it. Now, instead of using penicillin broth, add drops of distilled water.
Leave both plates for a couple of days before checking and making any comparison.
If you got positive results, try to test your homemade penicillin on a sick animal first. Start with small quantities to make sure that it’s not harmful.
Here’s why:
Even though you’ve successfully grown penicillin from bread mold, it’s not a guarantee that you’ve only made penicillium mold. There’s a good chance that your bread has other types of mold.
Apart from penicillin, molds create other things to kill off bacteria. Most of them aren’t safe for humans.
Considering that, it’s best to leave making penicillins to professionals. Even though there are ways to make the antibiotic at home, it doesn’t mean that you should.
Again, if you really want to test the penicillin you’ve made from bread mold, don’t use it on your body. Instead, use Petri dishes and grow trays of bacteria.
A Safer Solution
Although penicillins are strong antibiotics, they’re not always that effective and safe. A better solution is to focus on prevention.
Aside from learning how to make penicillin at home, try to learn first aid skills. If you already know them by heart, consider learning additional skills.
For example, you can try learning how to treat wounds so that they won’t get infected and require the use of antibiotics. Another alternative is to grow your own medicinal herbal garden. There, you can plant natural antibiotics like garlic, ginger, echinacea, and goldenseal.