When the worst you can imagine happens, instinct tells you to find a safer place to crash. After some crazy fleeing and heart-pounding action, you get to rest for a bit.
Along with the short relief, your body starts to check itself and assess what it needs most. You may feel pain from wounds, muscle aches, or hunger.
You can endure all these for as long as you have safe drinking water near you.
| Quick Navigation A. Know the possible Contaminants B. Ways to Test Water 1. Home Test Kit 2. ID Water Source 3. Soap Suds Test 4. Use Your Senses |
But when the scariest scenario hits the fan, will you have clean and safe water to drink? As you wander along the place of your refuge, you may find lakes, streams, ponds, and even jars of water around.
Pretty convenient, eh? Not really.
People who don’t just chug drinks are more likely to outlive others who would gulp whatever liquid flows around them. Severe diarrhea is the least you’d want to carry along while running away from whatever dangers humanity is pitted against.
Now that you see water in front of you, whether it is contaminated or not comes as the next concern. What will you do to determine if the water is safe enough to drink?
Of course, in a highly unexpected SHTF situation, you may be out there alive without the huge, high-tech machines to depend on.
Yes, no robots and fancy gadgets around. Such valuables will only catch the interest of others who would kill for many reasons. No matter how useful, these high-tech machines and their operators are always the first to go into a world thrown into chaos.
Civil war, alien invasion, zombie apocalypse, or whatever it is, keeping a low profile increases the chances of your survival. And with a low profile approach, comes low-tech but reliable ways to do things.
With limited resources, you need to go for low-tech, low-cost drinking water testing methods. Despite this, you need a testing process giving accurate results for your safety.
Know The Possible Contaminants
You cannot observe most of these contaminants with the naked eye. But even so, it’s a good thing to know about them to let you understand the importance of DIY water testing. So before we let you give some advice on how to check the water quality, make yourself aware of these harmful elements.
Nuisance Bacteria
Holds a very low chance to cause harm. But if you failed to treat water contaminated with nuisance bacteria, their numbers multiply and they generate iron and sulfur making them more dangerous over time.
Disease-Causing Bacteria
This active contaminant showcase a different level of harm. Examples of this type include E.Coli and Coliform which require strong and continuous medication for a patient to fully recover.
Iron
Water with iron may cause yellow and orange stains in fixtures, wells, concretes, and many kinds of surface. Technically, iron in great amounts produce rust and you certainly don’t want this in your drinking water.
Manganese
This mineral stains fixtures and causes black or purple color to the areas affected. It tastes bitter and exposure to extremely large amounts of manganese greatly affects psychiatric and motor skills. The symptoms resemble those of patients with Parkinson’s disease.
Hydrogen Sulphide
This component may smell like rotten egg. Sometimes, it naturally occurs in the water while others may have been caused by bacteria.
Lead
A toxic substance that targets the neurons. Intake through inhalation and digestion may cause lead poisoning. It results to abdominal pain, headache, vomiting, constipation and long-term effects such as inability to produce children and memory problems. Severe cases recorded show patients suffering from anemia, coma, seizures, and even death.
Now that you know a few of possible water contaminants and their effects, it should give you enough reason why you need to know how to test the quality of your drinking water before you take a gulp. Here we list different low-tech drinking water testing methods you can use.
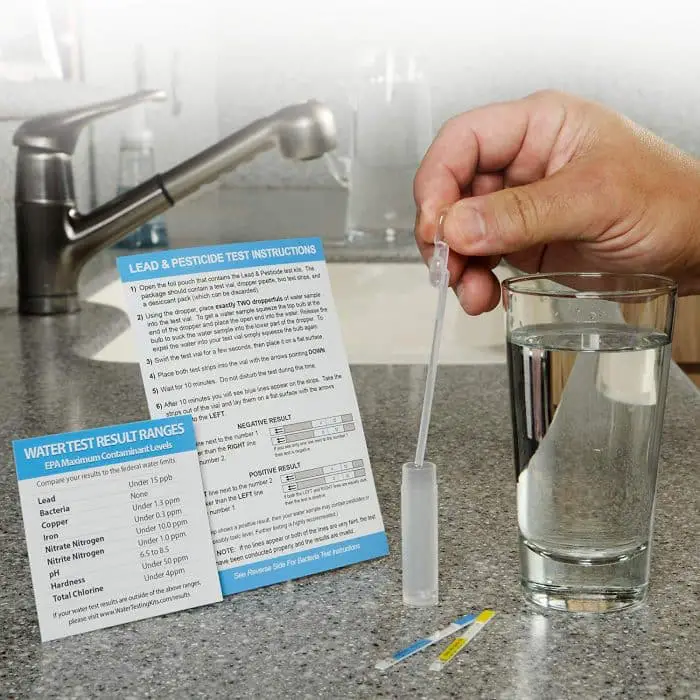
#1 – Using A Home Water Test Kit
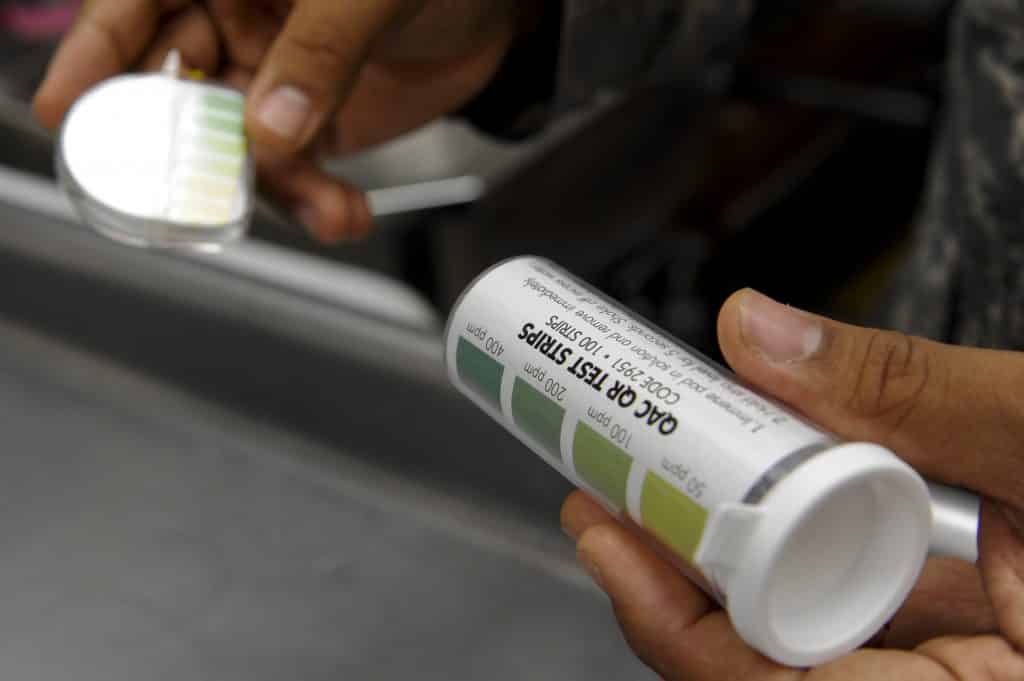
A home test kit makes one of the easiest ways to determine the quality of water. If you happened to keep one in your emergency bag or pockets, then you probably had a decent SHTF preparation. But before we proceed with the explanation, a few tips for those who are just about to prep up.
Although many companies produce a home water quality testing kit, they all function similarly. Home drinking water testing kit packages contain strips that change color depending on the mineral content. Lastly, you get to match the color with a chart to determine whether the water you have is safe or not.
We recommend buying home test kits with multiple strips each made to detect different water contents such as strips for bacteria, hardness, chlorine, pesticides, nitrates, and pH levels. Read the package inclusions in the box. If the kit has only one strip, it most likely will let you measure the pH level of the water which makes it far from what you really need.
Always read the direction before using the drinking water testing kits. This important section of the home water testing kit gives important info such as how long the strip needs to be dipped in the water and the required temperature to get the best results.
Take the strips out of the water after the recommended time. Compare the color of all strips to the chart and this will show the level or amount of substance in the subject. The color chart shows the designation of different concentration levels ranging from safe or acceptable to hazardous.
#2 – Identify The Source Of Water
Where your water is coming from, tells a lot about its quality. Gather all the data that you need, and ask help if necessary. If you wander alone in the wild, choose the water source which is least likely to have been contaminated.
Ask For A Water Quality Report
When the local municipality remains up and servicing its people when something bad happened, you can ask the city or township staff for a water quality report. Contact your city hall and ask for this info if you doubt the quality of the water in your area.
If no government body is available to assist you in this matter, try visiting the website of your city or town for updated info about the water quality in your area. You can also contact your village hall to get help on contacting a resource person who can provide info regarding your water concern.
Ask The Water Company

You can also try contacting your water company. A representative of the water provider should be able to supply you with the information that you need.
Surviving Alone In The Wild
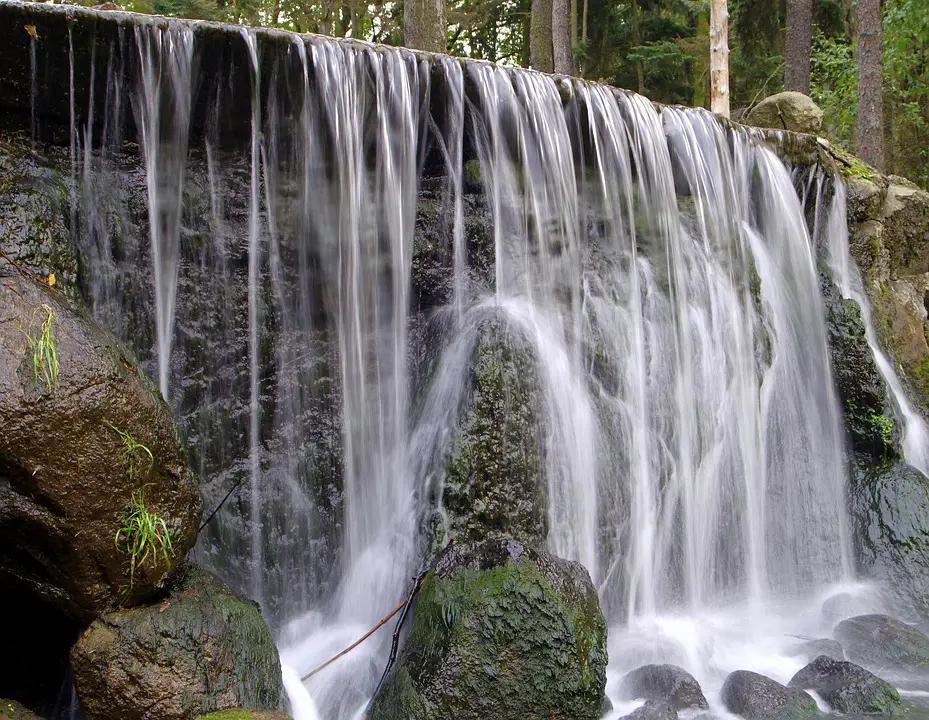
If you happened to be in the wild, you need to know which water source is safer to drink. Clear flowing water coming from areas without a population or village serves as the best choice. So if you come across a clear, flowing stream or spring, take that opportunity and fill your water bottles.

Stagnant water bodies such as lakes and ponds may hold heightened levels of bacteria and some disgusting things. On the other hand, rivers may continuously flow but most of them are full of pollution. Typically, the water from large rivers has come from an overpopulated area or factories.
Do not drink seawater or urine. This will make you urinate more water than you take up. If you keep on drinking seawater, you only become thirstier and eventually, you will die from dehydration.
#3 – Soap Suds Test With Castile Soap
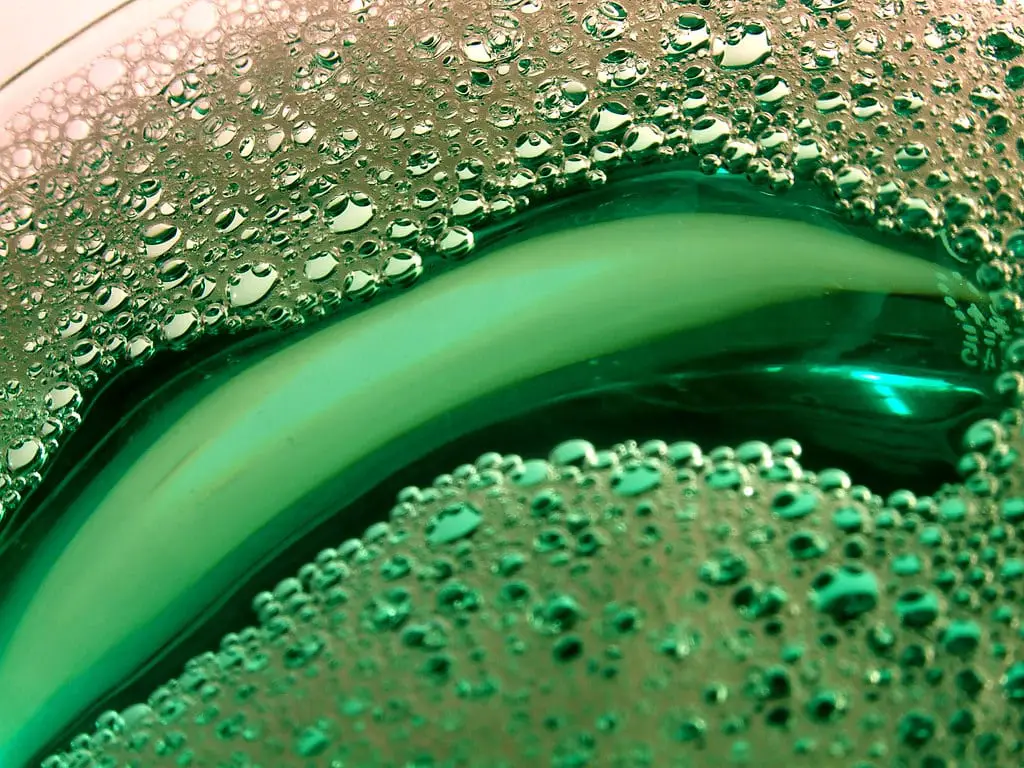
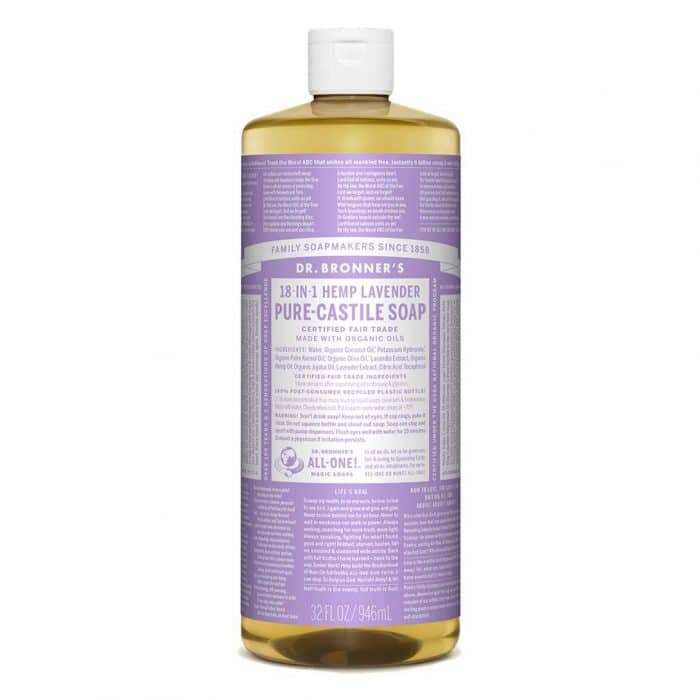
You can conduct a quick in-home and outdoor water test using basic soap like the Castile. This multi-purpose soap is 100% natural, free from detergents, dyes, and perfumes.
Fill an empty bottle one-third full with cool water you want to test. Next, add a few drops of Castile Soap or any basic soap available.
Shake the bottle forcefully for a few seconds and observe what happens to its contents. If you see cloudy or milky water with few bubbles, it indicates hard or contaminated water.
If you see abundant bubbles and clear water, it only means that the water is soft water and a lot safer to drink.
#4 – Test Drinking Water With Your Senses
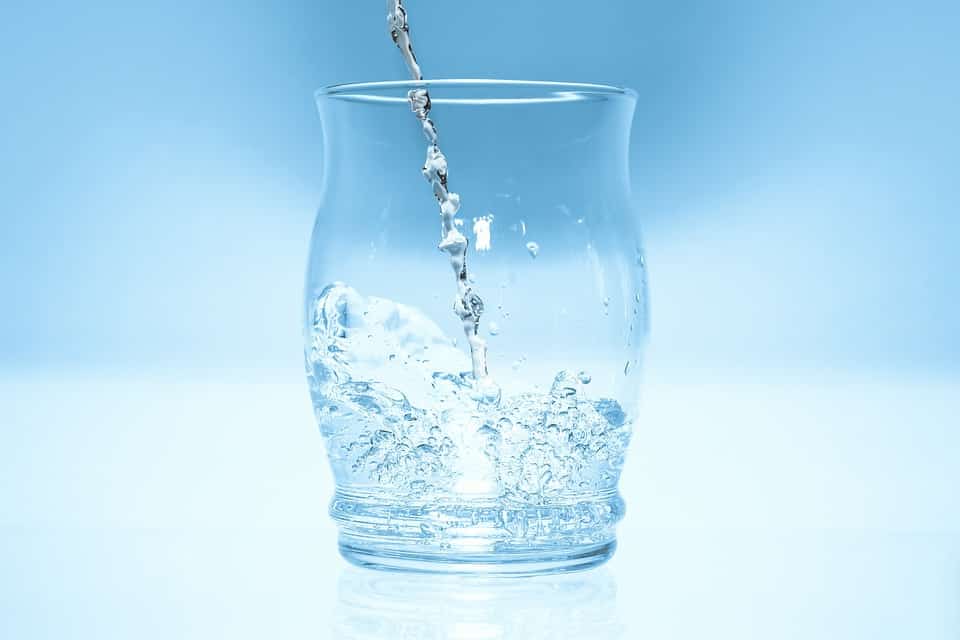
In the complete absence of all water testing tools, you may rely on your senses to check on the quality of the water. Although it won’t let you extract the exact amounts of bacteria and other elements in the water, what you will find out in this water test can give you enough clues to reach a conclusion.
Examine The Water’s Appearance
Observing the physical appearance of the water will not generate 100% accuracy. Some hard water may appear clear while the safe ones you should drink may appear a bit hazy. However, this guide will still help you in weeding out a subject after seeing obvious signs of contamination.
Place the water in a transparent container such as glass and hold it up towards the light. Look for particles and cloudiness. Reddish and brownish particles may indicate iron rust contamination from the pipes or fixtures. On the other hand, black particles usually come from the dirt inside the hose where your water goes through. White and tan particles may show signs of other mineral excess such as magnesium or calcium carbonate.
If the water comes from a faucet, let the water run down the drain especially if it is hazy. This is caused by the buildup of dirt in the water fixtures which happens if the line or pipe remains unused for a while. This can also happen with a newly set up water source or system.
Smell The Water
Professional sanitation consultants and water engineers will surely smell the water when they went to your home to test it. This proves the efficiency of this drinking water testing method. You can also give it a try and start by giving it a good sniff.
Bleach smell occurs after the local treatment plant added chlorine water to make it safe to drink. This smell should go away after a few seconds of exposure to air. You may use a home water filter to remove the bleach odor. Usually, bleach smell does not carry harmful elements.
Rotten-egg smell indicates thriving and multiplying bacteria in the water. Pour or run some water in a glass and set it aside for a few minutes. If the smell disappears, your pipes or fixtures need cleaning. If the smell stays, it indicates a huge hard water problem. Do not drink the water and report it to the local municipality or the water company.
A musty or earthy smell indicates decaying matter in the fixture. It is usually safe to drink, but if it is really bothersome, get it treated or ask a plumber to check on your water pipes.
Taste The Water

Tasting the water should serve as the last step. The goal of the above water testing methods is to avoid you from ingesting highly suspicious water into your body. But if you did not detect any problems, try tasting a few drops or sips of the water.
If the water tastes foul, do not swallow. Spit it out immediately.
If the water tastes metallic, it indicates excess in minerals or low pH levels. If the water tastes like bleach, it only implies excess in chlorine. On the other hand, salty water signals serious contamination which may be caused by irrigation drainage or industrial waste.
Do not continue drinking the water if it tasted like the above. Get the water treated, contact your local municipality, report it to the water company, or find a different source of water.

