You may have heard about Mylar Bags when you were looking for a way to store large quantities of food.
You may be wondering how Mylar bags are different from any other bulk food storage options available in the market.
How do you use one for storing rations? In this post we take a look at how to use and seal Mylar bags for food storage.

Searching online can possibly raise more questions than answers. So in an effort to lift that veil of mystery surrounding Mylar bags, we discuss the most common questions and tell you all about using Mylar bags to store bulk emergency foods safely and efficiently.
Quick Navigation:
What are Mylar Bags
Why is Mylar Best
How to Use Mylar to Store Food
How to Use with 5 Gallon Buckets
Using Mylar With Oxygen Absorbers
Sealing Mylar Bags
Organizing Your Stored Food
Step By Step Action Plan
A. What is a Mylar Bag?
Let’s get something cleared up first. The word Mylar is not a brand name but rather one of the many variations of a material called BoPet. What is BoPet? If we were to prolong it, the name means “Biaxially Oriented Polyethylene Terephthalate”. Mylar is a trade name coined by a company called DuPont way back in the 50’s. This remarkable polyester film material was then used by NASA for their space programs.
BoPet is a film that’s produced when you stretch polyethylene terephthalate. It’s an amazing material best known for its superior tensile strength. Moreover, it was discovered that Mylar had excellent blocking abilities against moisture, gas, light and aroma. It’s a godsend for preppers because it could effectively block electrical waves as well.
Mylar is thin, flexible and light, but these properties belie the fact that it’s one of the most durable and strongest materials there is. You can see Mylar used to great effect in space blankets, insulators, solar filters and atmospheric helium-filled balloons.
Many materials for long-term food storage were used, but Mylar beat them all handily. This makes Mylar as the go-to material for people who want to keep their foods fresh and edible for years on end.
B. Why is Mylar Best for Long-Term Food Storage?
Mylar is better than other food storage materials such as vacuum-sealed, plastic, dry-packed and metalized bags. Think of Mylar as a clear resin made of light polyester material encased in aluminum foil. It’s like a portable, flexible tin can that stores large amounts of food.
It presents some advantages over traditional tin can varieties in a number of ways. Mylar is stronger, is certainly more flexible, and it keeps away elements that could prematurely spoil rations. It has all the good features of all food storage types- strong, light and sealed.
You can pack in food without worrying about breakage. The polyester film conforms on the food you put in, and it collapses when the air is removed. When you put in the food items and vacuum seal them, your food will be safe from the outside elements. You’re in full control when it comes to humidity, light and oxygen content. Survivalists should know that these three elements spoil food much faster than anything else food comes in contact with.
1) Mylar VS Metalized VS Dry Pack Pouch Bags
Dry pack pouches, metalized storage bags and Mylar have something in common- they are all alike! Don’t be confused when your seller refers to Mylar bags as such. All of these are made from the same Mylar material. Make sure to check whether the bags are food-grade. Mylar is just one brand of polyester film, like Xerox is a brand of a copier machine.
On Using Plastic Bags
Plastic bags as long-term food storage solutions are only good if you’re packing in salt. By themselves, salt is a hardy food ingredient that doesn’t require reinforced packaging, even when you need to keep it for a long time.
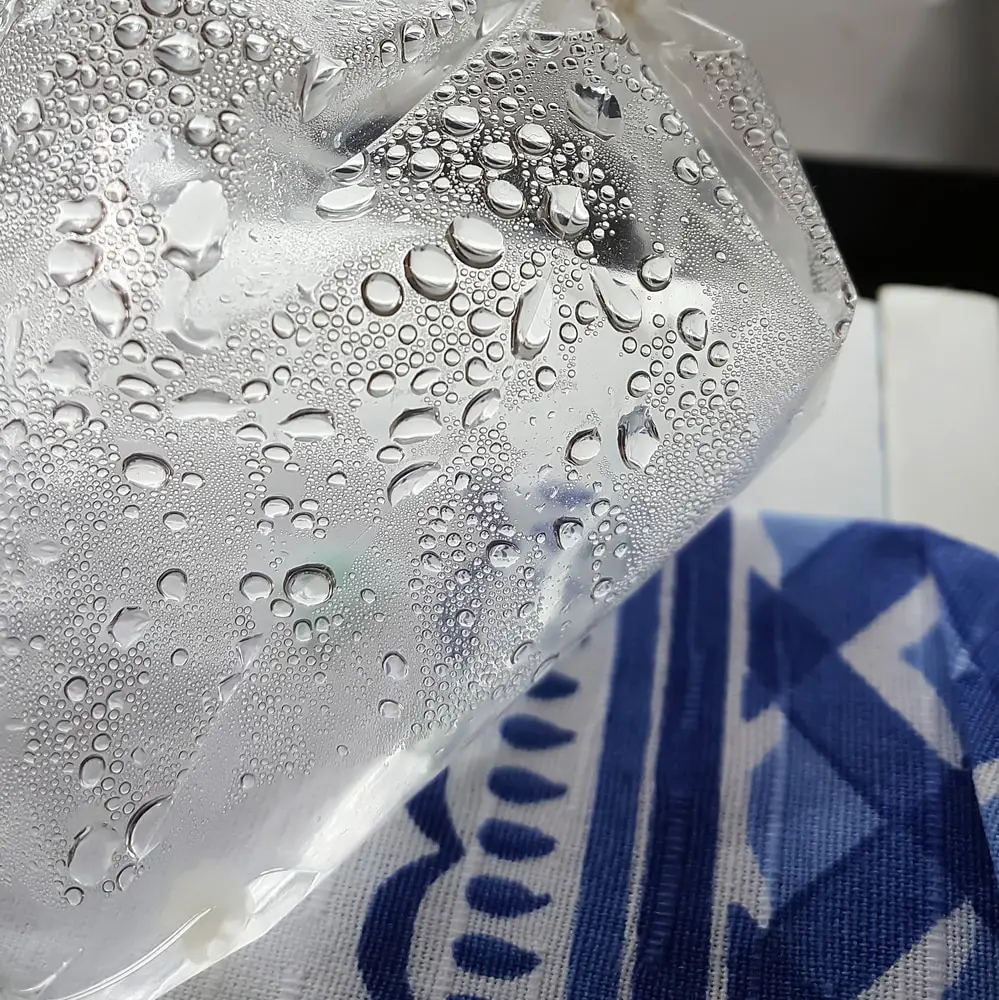
Plastic bags are thin by nature. They aren’t totally air-tight. They tear easily and they allow light to pass through. As you have probably learned by now, heat, moisture and light are your worst food enemies in long term aspects. Not counting food pests, fire, and other destructive acts of nature, of course.
2) On Using Vacuum Sealed Bags
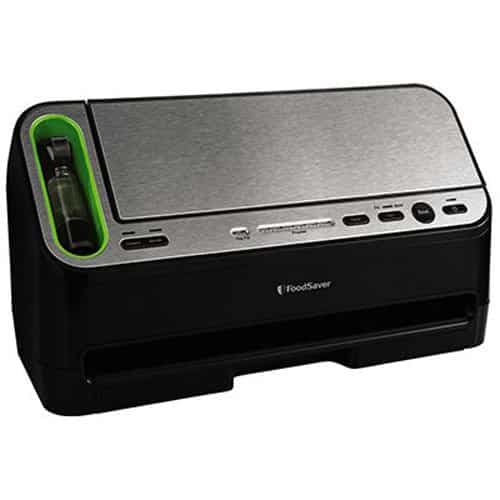
Vacuum seal bags such as the ones made by FoodSaver are great because they are convenient and easy to use. The air is sucked out of the bag to keep your food preserved and fresh. That’s where the advantages end. Mylar bags are more durable and tougher. Vacuum sealed bags may develop breaks 3, 4 years after they are put in long term storage.
Don’t rule out the usefulness of vacuum-sealed bags though. They’re a good alternative for when you need to store food for short to medium lengths of time. You’ll just have to be diligent about rotating the foods you put in vacuum bags and using them as everyday meals when enough time has passed. Make sure to put in oxygen absorbers if you intend to store them for more than 12 months.
Mylar bags are the best in what they do- keeping your food safe for the longest time. You can rely on Mylar bags to store nutritious food when the end of the world finally comes.
C. How To Use Mylar Bags For Storing Food
There’s no one-size-fits-all approach when it comes to your food and Mylar bags. The best and the most efficient use of a Mylar bag is when the size is just right for the type of food you’re packing in.
Mylar bags come in different thickness and size. To keep it simple and not get overly complicated, you can categorize your food and the corresponding Mylar bag to just two sizes- Small and Large.
The perfect size for small food storage is the 1-gallon sizes. You can put in small food items that aren’t needed in bulk, i.e., preserved fruits, dehydrated meats, cooking ingredients such as salt, baking powder and other spices.
Then, for the ones that are stored in bulk, i.e., wheat, beans, rice, etc. you’ll want to go for the large-sized bag. A 5-gallon Mylar bag is suitable for most of these food types. They aren’t too heavy and won’t take too much space. As a side bonus, 5-gallon Mylar bags can be paired with 5-gallon buckets, which will give you even more storage benefits.
The best range of thickness in Mylar bags are between 4.3 to 7 mils. The thicker a Mylar bag is, the more it can repel light and moisture. The only downside to this is that thicker bags are more expensive.
It boils down to how much light and humidity you want to keep out of your food. Standard 3.5 mils bags can still get penetrated by light, which could lead to a rude shortage just when you need food the most. Opt for Mylar bags that are at least 4.3 mils in thickness. This way you won’t have to worry about light and humidity entering your emergency food rations.
D. Using Mylar Bags With 5 Gallon Buckets
5-gallon buckets are great for protecting one of your most valuable assets- food. When thinking about long-term storage, you should always think about the worst things that could happen to your food and water, and come up with solutions to counteract them.
Light and humidity may not be able to penetrate your Mylar bags, but that doesn’t mean insects, rodents and bugs couldn’t as well. They can chew through Mylar material fast and leave it exposed to the outside elements. Plus, your 5-gallon buckets can double as extra storage for when the rations are opened.
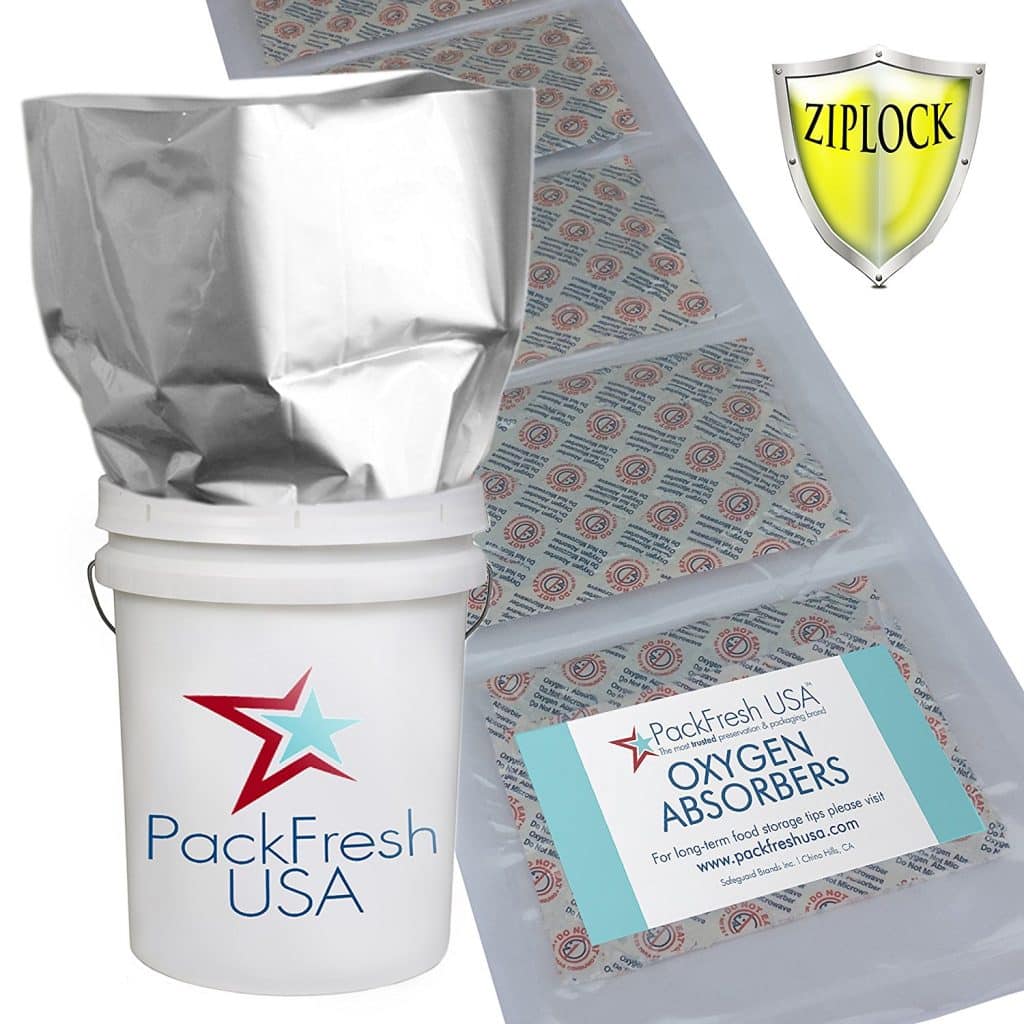
The best 5-gallon buckets you can buy are the food-grade ones that have protective lids on top. Simply fill up your Mylar bag with the appropriate food, place it inside the 5-gallon bucket and close the lid. Your stored food will be impervious to light, humidity and any hungry rodents or animal that come your way.
Get thick, hard plastic buckets that can withstand gnawing, biting and chewing. Also, as a wise precaution, use only new food-grade 5-gallon buckets. You won’t want to put in your precious food rations into a non-food grade bucket, because a non-food grade plastic bucket has dyes and harmful chemicals that could seep into your food supply. Contaminated grains and food won’t be good for safe consumption.
Don’t buy second-hand or previously used plastic buckets because you won’t know if they’ve been used to store fuel, paint or chemicals in the past. The porous nature of plastic absorbs any chemical that has spilled to the material makeup, which in turn contaminates the food stored within.
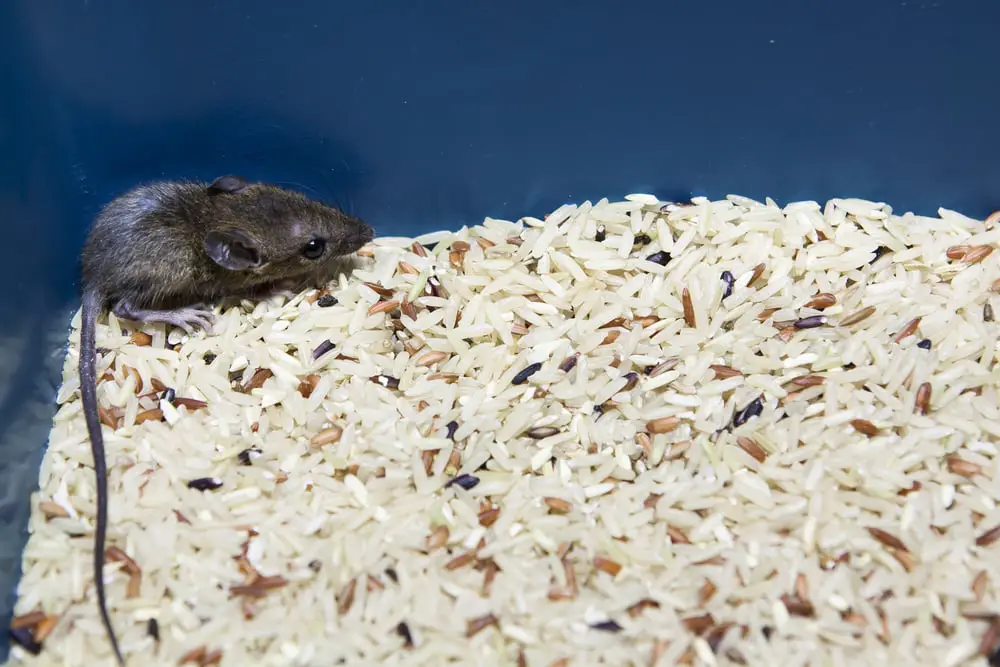
Invest in a few more dollars and get new, food-grade 5 gallon buckets. After you fill your Mylar bags with food and put them inside the buckets, store them in a cool, dry place for optimum storage.
E. Oxygen Absorbers- How Do They Work?
Did you remember to place an oxygen absorber into each Mylar bag before storing them? But wait, how do these oxygen absorbers work?
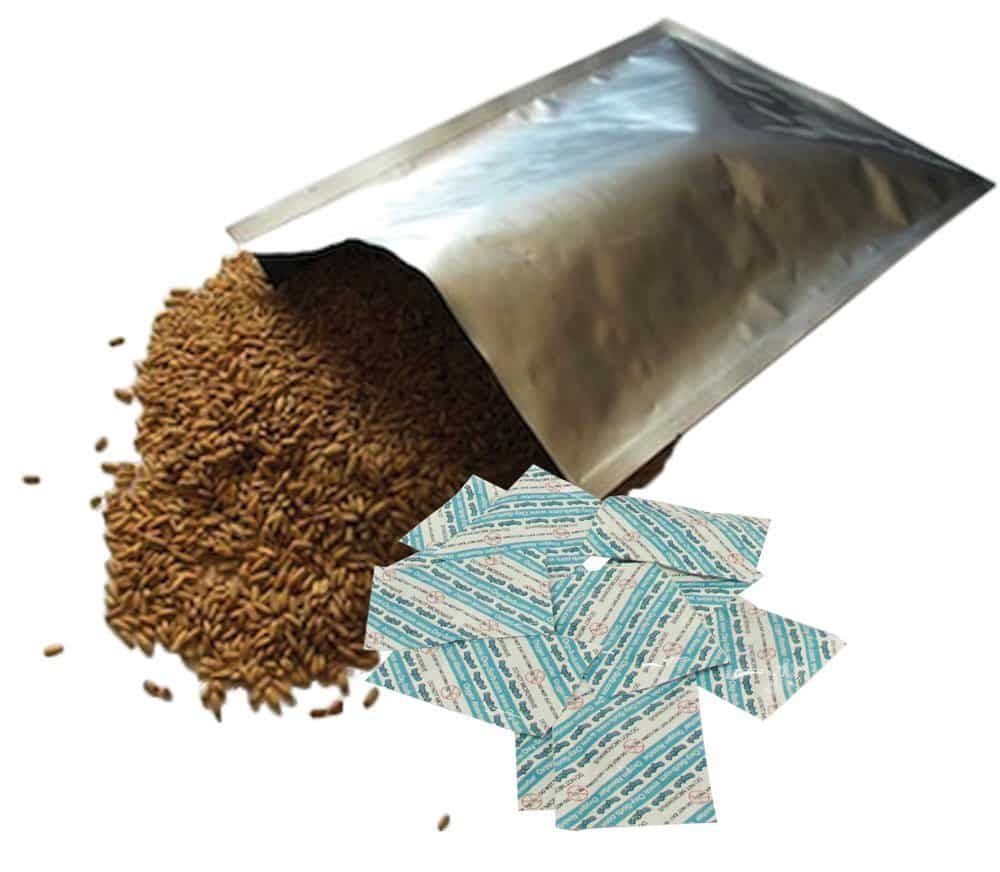
Oxygen absorbers or O2 absorbers get the extra oxygen inside Mylar bags when you seal them. It stands to reason that the bigger your Mylar bag, the more oxygen absorber you’ll need. They are measured in cc units.
Here’s how they work- you put in the appropriate amount of oxygen absorber before you seal the bag for storage. Once sealed, the O2 pack does its job of eating up any excess oxygen that’s still present in the bag.
O2 absorbers are important if you want food that can stand the test of time, because oxygen is a huge factor when it comes to your food’s shelf life. You’ll need to figure out the right amount of oxygen absorber to use. Too little and your food will have a reduced shelf life. Too much and you waste valuable money that could be used for other survival measures.
Oxygen absorbers come in different cc’s- 50, 100, 300, 500, 1000, 1500 and 2000 sizes. Let’s simplify the process of finding the right amount of O2 absorber to use by doing a simple computation and rounding up the results. Here’s a useful link you can use- https://youtu.be/Xl5-z77jDow
It’s better to add a little bit too much oxygen absorber than adding too little. The effect of not putting in enough oxygen absorber has far graver consequences than wasting a bit of money. You can also take the guesswork out of the picture and buy Mylar bags that have O2 absorbers included.
F. The Art of Sealing Mylar Bags
Here’s a quick overview on how to use a food sealer to pack your Mylar bags:
Have you got everything you need? Make sure you have the food you want to store, the 5-gallon buckets, the Mylar bags and a heat source for sealing.
Sealing your Mylar bags is one of the most important process in long term storage. A poor seal results in a reduced quality of food, which in turn degrades effective shelf life. Pay attention and you’ll get the art of sealing food in no time flat!
Here are the 3 things you need to know about effective food sealing:
1) How to know the bag is correctly sealed
Let me explain why this is. The flatter a Mylar bag is, the better seal you can get. Heat is applied to the open end of the Mylar bag, and the material starts to melt. The two ends co-mingle when both sides are at the melting point. It’s like welding two pieces of metal.
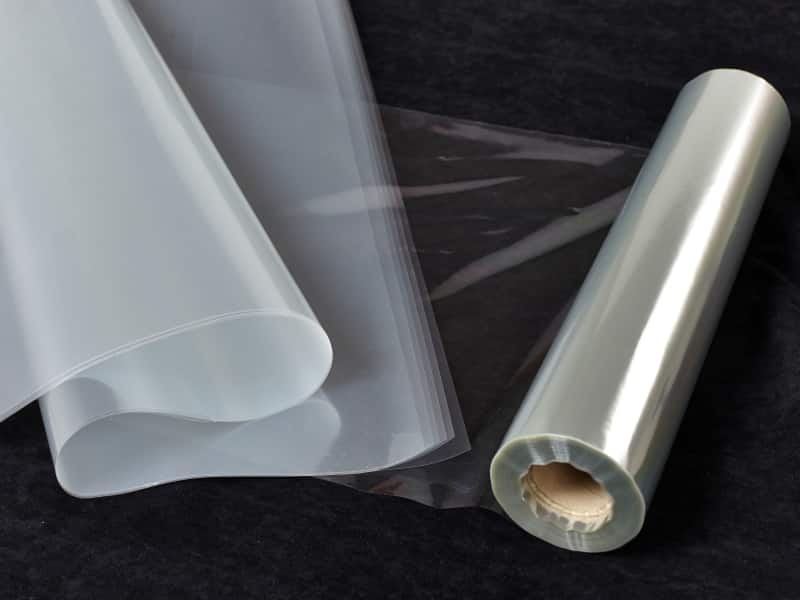
Intense heat is applied to one end to turn the material into heated liquid. Two heated liquid materials are brought together to fuse into one. When the heat source is shut off, the material reverts back to solid state and the ends form as one.
A pocket of air that stands between the two ends of a Mylar bag will directly reduce the effectiveness of the seal. The process might work out well at first, but upon closer inspection the seal will be at its weakest near the air pocket. You can be sure that the weakest spot in your Mylar bag will be the one to break first in due time.
2) Removing all foreign materials, even the minute particles.
The seal needs to be flat and clean. Try to be as thorough as you can, because a bit of dust or an unwanted piece of food will compromise the storage process. Getting one in-between the two ends of the Mylar bag greatly reduces the surface contact between the two joined points. This is not acceptable because air, light and moisture will seep in the weak spot. Food shelf life will be significantly reduced.
3) Control the heat during the sealing process.
The temperature and the timing is important in this one. Too much heat will melt your Mylar bags and render it unusable. Too little and the surface points will not join together, and you won’t have a proper seal at all. The bag will look like it’s sealed, but sooner or later the ends will come undone and your food will be exposed to the elements.
There’s one way to ensure the best sealing process available, and that is to invest in a good Mylar bag sealer. Investing means spending a little more as compared to buying alternative options such as a hair straightener or a clothes iron. This will pay off in dividends later on as you’ll have food that’s as fresh as the day you sealed them in. Remember that food will be one of the most valuable resources in SHTF situations.
It’s fine if you’re set on using a hair straightener or a clothes iron to seal your Mylar bags in. Just make sure to thoroughly test for a good seal afterwards. Check back after 6 months and see if the seals are still in place.
Here’s an easy method in using hair straightener to seal your Mylar bags- Fill your Mylar bag with food, put in the oxygen absorbers, then use the hair straightener to seal the end of your Mylar bag. Keep the bag flat and eliminate any foreign particles for the best seal. If you’re using a clothes iron, then you’ll need a flat area or a board to work with. Fill your Mylar bag with food, put in the O2 absorber, lay it flat on the board and gently iron the ends of the Mylar bag.
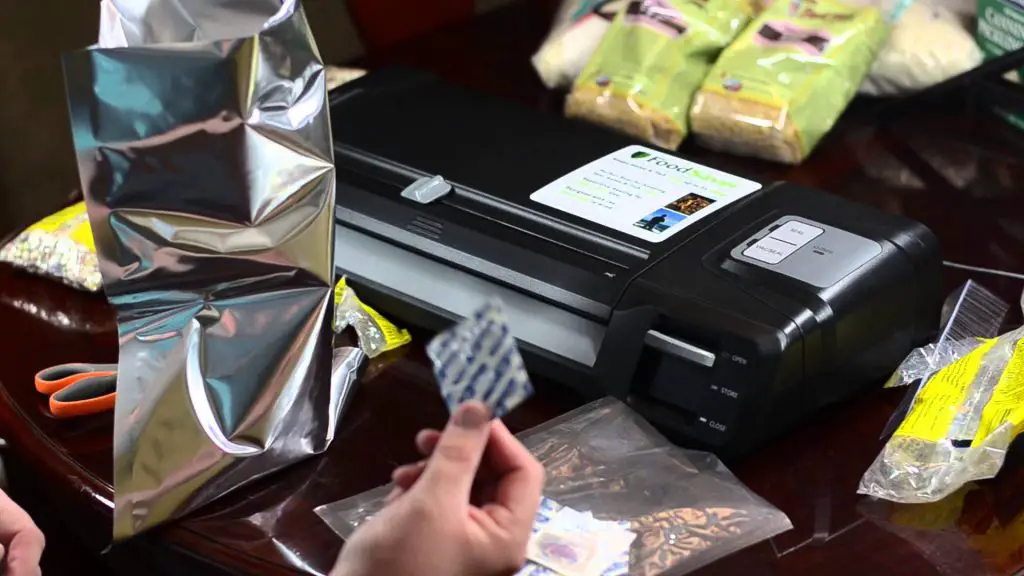
Finally, you can make use of a vacuum sealer to lock in your Mylar bags. These devices can effectively create a vacuum inside your food bag and seal them at the same time. You’ll notice though, that Mylar bags are smooth while vacuum-sealable bags are dimpled in nature. The dimples are so that the vacuum sealer can effectively work its magic.
The effectiveness of sealing Mylar bags using vacuum sealers are lessened, but there’s a trick you can use to seal them just like you’re using food saver bags. A vacuum sealer is also one of the best food storage tools for everyday use. If you have veggies, fruits or meat that you want preserved for a week or two, then may want to invest in one.
Here’s some more helpful tips on the art of sealing a Mylar bag:
1) Don’t overfill your bags with food.
2) Seal the top inch and nothing else. This will be a boon when you’ve opened the bag and want to re-seal it for later use. Don’t forget to include the oxygen absorber before sealing it up again.
3) When packing powdery ingredients like flour, wipe the inside edges to eliminate any material that could compromise the seal.
4) Check back your sealed Mylar bags a few days after. They should still look great and compressed by then. If not, then the seal didn’t work and the Mylar bag is compromised.
5) Seal noodles and pasta in their original packaging. Open up the package a bit first so the oxygen absorber will work its way inside the package.
G. Organizing Your Food Storage
Survivalists will do well to organize their bug out bags, vehicles and survival equipment. It should be an essential part of your discipline. Knowing what kind of food each bucket and Mylar bag has will save you the time and energy you can use for other things.
Label each Mylar bag and 5-gallon bucket with the food and the date you sealed it. The bags can be labeled using a sharpie. Allow sufficient time to dry so it won’t smudge. You can make use of sticky labels not only to organize your Mylar bags, but to organize the rest of your survival bags and storages as well.
Label boxes, packages and bottles with useful information. The time may come when you’ll not be present to help family members determine the correct box to open. It serves as a training tool for them to be more self-reliant.
If you have the extra time, include the information that came with the food package. A box of beans can be cut up and inserted into the 5-gallon bucket with the Mylar bag. You’ll have a detailed information into the food you’re storing. This is especially useful if one or more of your family members have food allergies.
Here’s a helpful video that walks you through the entire food storing process using Mylar bags, O2 absorbers, 5-gallon buckets and sealing the food in place- https://youtu.be/mR_vQcd3sb0
H. Creating a Step By Step Food Storage Action Plan
Mylar bags can sound intimidating, but with a little bit of knowledge and some how to’s, they can turn out to be quite easy to use. Once you have your oxygen absorbers, your 5-gallon bucket, your Mylar bags and your food, then it’s time to do a step-by-step emergency food storage action plan!
Step 1. Choose the food you want to store long term and buy them.
Step 2. Get your Mylar bags in both 1-gallon and 5-gallon sizes.
Step 3. Buy plenty of oxygen absorbers.
Step 4. Go to the hardware store and purchase new food-grade 5-gallon buckets with lids.
Step 5. Secure the best heat sealing device.
Step 6. Bring your organizational tools such as the labelers, the sharpies and the checklist to the table.
Step 7. Open your Mylar bags, put in food, add some O2 absorbers, seal them up and place them in 5-gallon buckets.
Step 8. Find a cool, dry place and store your Mylar bags in them.
Step 9. Rejoice! Your chances of surviving an end-of-days scenario has just gotten a little better.
Check out our post on how to freeze dry foods for long term food storage if that is more your speed. We also have posts on the best foods to stockpile and how to pressure can foods for your pantry.

On the facebook page, there is a picture of a mylar bag with a transparent front. Are these acceptable to use for long term storage? I purchased mylar bags from SorbentSystems and these type of bags are the ones I received. I can’t send them back because the cost of international shipping is too high.
Hi Erin, great question. As long as you have a secondary storage layer, such as a 5 gallon (or smaller) bucket, tote with a tight sealing lid, or even a room that blocks 100% of light, these bags are fine. The main issue is ensuring that no light is able to penetrate through to your supply over the long term. In fact, in a way they offer an advantage by allowing one to do visual checks through the clear panel, without opening the bag, to make sure your supply is still fresh and no moisture or air has seeped in, or that your supply has turned into a science experiment. Hope that helps, let me know if you have any more questions. Best, Tobias.
Thank you. That is good to know.
I would like to purchase mylar bag vacuum sealer,in your store/company i would be happy if you can get back to me again with the prices and dimensions you having available in a moment,and also do you take all types of Credit Cards as your payment required?Kindly get back to me here or on phone so that we will work together as one panther. All the best and stay blessed.
Lots of helpful info but I don’t agree with that you need to use food grade buckets. as long as no chemicals were used in the buckets they should be fine. The Mylar will protect from any dies seeping through.
>as long as no chemicals were used in the buckets
What do you think plastic is made of?
Hello, I am wondering why my commercially purchased food packed using oxygen absorbers are not as compressed as when I bought them. The bags are foil and undamaged in any observable way.
Any help understanding what happened would be greatly appreciated.