Here at the Geek Prepper, we’ve shown you a plethora of things that you should have to prepare for survival situations.
In truth, none of those things compare to the importance of clean and potable water.
We can never overstate how important it is to our survival. But in post-SHTF, this precious resource will most likely be quite difficult to come by.
Here’s why you need your very own DIY water filter.
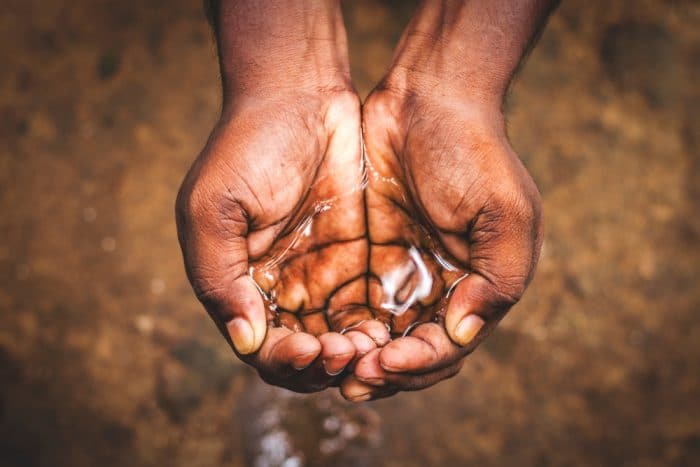
Why You Need a DIY Water Filter
Imagine a post-SHTF wasteland where water is difficult to come by.
A clean water source today could dry up or be contaminated the next day. When that happens, you’d be forced to look for another clean water source. A stream, waterfall, lake, or river would be the best places to find water.
But in survivalist mode, that hardly ever happens.
You have to make do with what you get. Puddles, collected rainwater, small ponds, or any other body of water.
But the thing is, these sources of water are full of dirt, gravel, small rocks, and other small debris, among other impurities.
To make the water suitable for drinking, cooking, or even bathing, simply boiling won’t be enough. But in the absence of other methods to purify or disinfect water, a good filter is the next best thing.
Water Purification and Disinfection vs Filtration
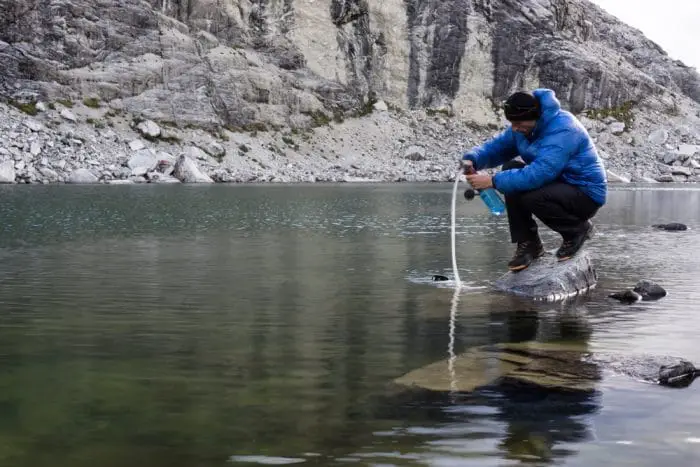
Before we proceed to talk about water filters, let’s first get the different terminologies out the way.
Three terms most associated with water purity in survival terms are filtration, purification, and disinfection. The end goal of these is to have clean water, but they do not mean the same thing.
Water filtration is the physical removal of physical contaminants by passing water through a filter or a series of filters of varying sizes. This will be discussed in more detail in a separate section below.
In contrast, water purification involves the physical or chemical removal of any undesirable in water. These may include chemical contaminants, unwanted dissolved gasses, particulates, and biological contaminants.
Meanwhile, disinfection is a type of purification process that deals only with the removal, deactivation, or killing of microorganisms that can cause you harm.
In most survivalist situations, you will most likely be needing a combination of the two methods. For example, you may need to boil the pond water after filtering to eliminate viruses or bacteria to make it safe for drinking.
How Filtration Works
Filtration works by creating barriers that disallow the passage of impurities in water. As water is passed through the filtration system, different physical and chemical filters block the contaminants from passing through, leaving only pure water.
The type and size of objects that can be filtered by a filtration system will depend on the physical size of the filter as well as the size of its pores (measured in microns). That would mean that even microorganisms like bacteria and protozoa can be filtered out when using a filter with the appropriate pore size.
What to Filter Out
As a general rule, never assume a body of water is clean, no matter how clear it appears to be. And never, ever, follow the advice of someone telling you that filtering water is unnecessary. It has already been debunked numerous times.
The best thing that you can do is to find out what contaminants are present in the water at any given time to know what to prep for.
Let’s start with the three main types of water contaminants. These are sediments, toxins, and microorganisms. Here they are in more detail.
Sediments. Sediments are small physical objects that can be found dissolved, suspended, or settled in water. These can range from tiny plant and animal matter to small particles of soil and sand. Anything from nature can be a contributor so you can be sure that there’s plenty of sediments in the wild.
Toxins. Toxins are harmful substances that are poisonous and are harmful to the body. These can either be produced by living organisms or other environmental substances that can cause harm to other living beings. Examples of toxins that can be found in the water include heavy metals like lead and mercury, industrial runoff, oil, and pesticides, among other things.
Microorganisms. Water can be teeming with all sorts of organisms unseen by the naked eye. They can live anywhere on the planet and can be transported by every other creature. Examples of microorganisms that can contaminate water include bacteria (E. coli, salmonella, coliforms), protozoa (giardia), and viruses (SARS, polio, rotavirus), among many others.
Different DIY Filters You Can Build
As a prepper, you will need to gain knowledge of different types of filters that you can build. That is because most of the materials will not be available at all times. So you will always have to make do with what you currently have.
Here is a comprehensive list of DIY filters created by other preppers, their materials, as well as a step-by-step guide on how to build them.
1. Berkey Homemade Water Filter
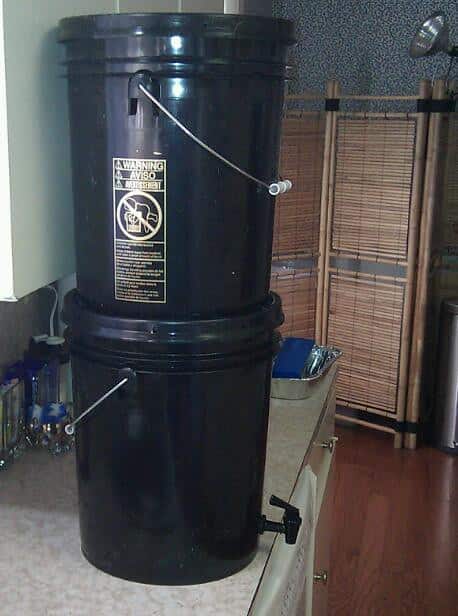
Everybody knows that the Big Berkey is the best water filter in the business – it’s a champ. If you can really afford one, then that is really all you need to have clean, safe water for you and your family in the even of an emergency or clean water shortage.
But if you can’t afford that, then here’s something that’s just as good, or may just be even better – but it’s not gonna be as pretty.
The thing about Berkey water filters is that their pretty packaging is all they are – packaging. The true MVP is the system of elements that make up the purification system on the inside. So here’s a way to build your very own Homemade Berkey Water Filter.
Materials Needed
- 2 large buckets with lids (food grade)
- 1 spigot
- 4 to 8 Black Berkey Purification Elements
- 1 drill with 1/2” and 3/8” drill bits
Steps:
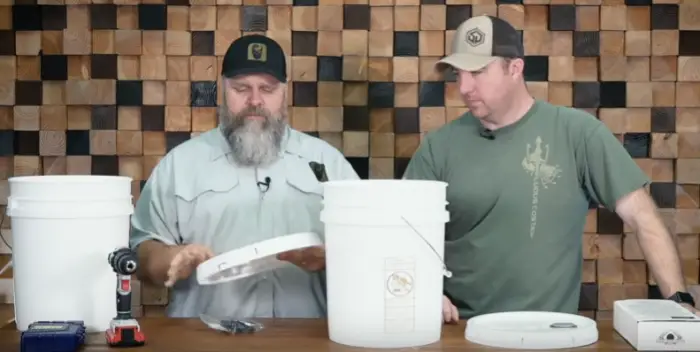
- Begin by selecting 2 large, food-grade stackable buckets with lids that are BPA-free. It is recommended that you choose buckets that are about 3 to 6 gallons in size with similar shapes so there’s no problem stacking them.
- Prepare the buckets by washing them and drying them thoroughly. Using the 3/8” drill bit, drill two holes (or 4, depending on number of elements) on the lid of the first bucket. Drill the same number of holes on the bottom of the second bucket by lining them up on top of each other.
- Now you’ll be needing a spot for your spigot. Place the first bucket upright on a table and drill a 1/2”-sized hole near the bottom of the bucket. Place one washer outside the hole and another washer inside as you install the spigot.
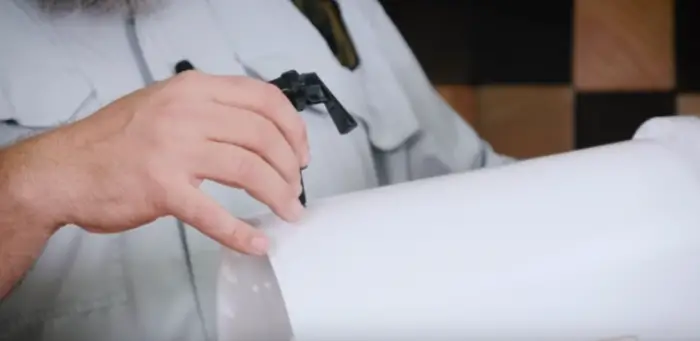
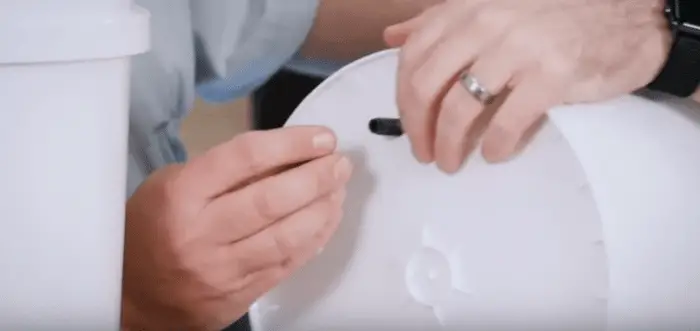
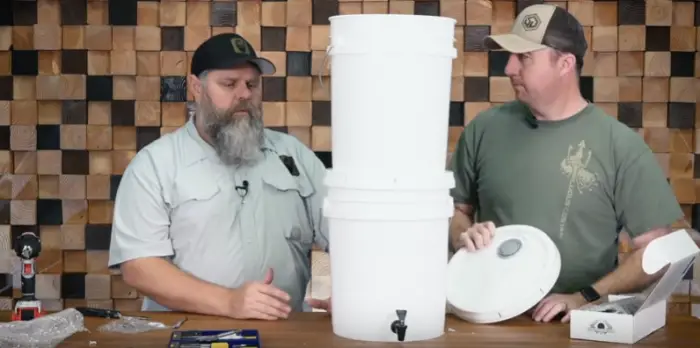
Note: it is highly recommended that you do a first run at full capacity and then discarding the filtered water to eliminate any residue left in the filters that wasn’t taken out during priming.
2. Ceramic Water Filter
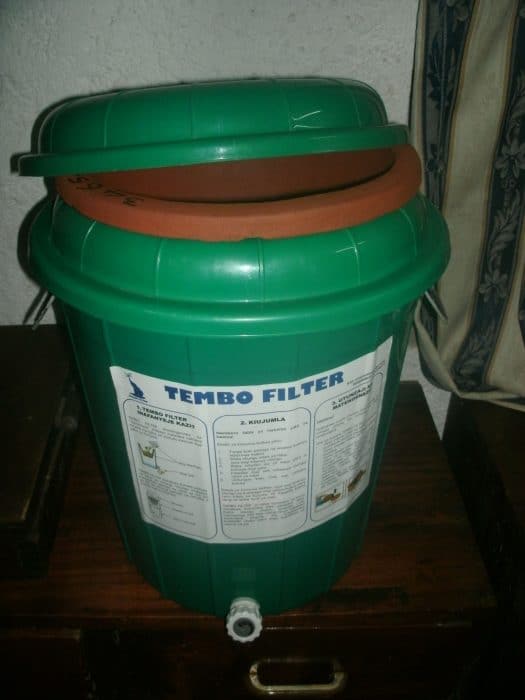
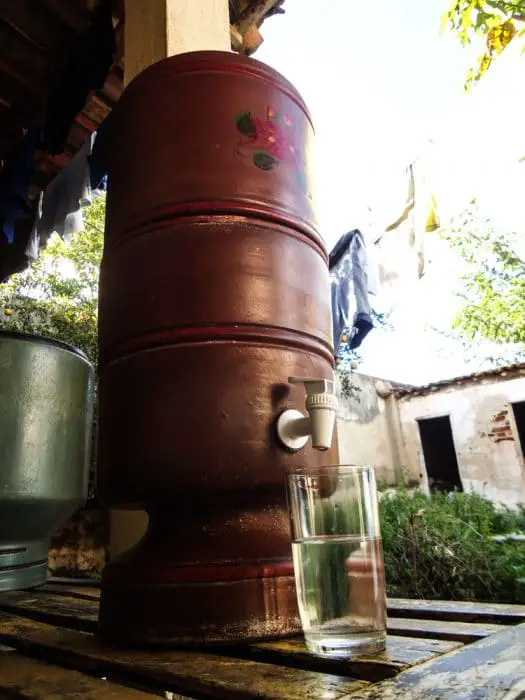
Ceramic water filtration systems are easy to build and are fairly low cost. It’s actually built quite similar to the Berkey buckets, with the exception that instead of using Berkey filter elements, we use ceramic filters.
The ceramic filter uses a ceramic shell that is filled with activated carbon. The ceramic shell is responsible for filtering out small contaminants such as suspended solids, particulates, or even microorganisms. The carbon, meanwhile, takes care of chemical contaminants as well as those that add pungent odors and peculiar tastes to the water.
The best thing about ceramic filters is that they’re tried and tested to be quite effective. Don’t believe me? Ask the thousands of missionaries, NGOs, and even refugees that depend on these filters for clean water.
Materials Needed
- 2 large buckets with lids (translucence optional)
- 1 ceramic filter cartridge
- 1 spigot
- 1 drill with a 1/2″ and 3/8” drill bit
You can get a combo with the ceramic filters and the spigot together if that helps. I bought my DIY home water filter parts separately.
I decided I could search for 2 Food Grade buckets locally, and get them for free. Seems that I was wrong about that.
Food Grade buckets should be available for free from restaurants, grocery stores (bakery or deli) or many other food type places. Try calling them, most of these places just throw the empty buckets away. I had no luck so I had to go find food grade buckets and buy them.
I found some food grade buckets over at Rural King, in Ohio, while visiting relatives. They carry the white Encore plastics buckets, which according to their website are food grade.
As always do your research and verify, all Rural Kings may not carry the same buckets. Also do not assume that any other company’s white buckets are food grade. Do your homework.
There is another site that offers similar items, Monolithic. If you want to buy from them, grab a Monolithic Ceramic Water Filter. They have another bucket system with a simple hand pump that puts pressure on the water and forces it through the filter faster. It can clean 50 to 80 gallons of water a day. You can read up on that here.
Steps
- The methodology in building this ceramic filter is similar to the Berkey water filter. One big fundamental difference is that instead of drilling 2, 4, or 8 holes on the bottom of the bucket, you only drill one hole in the middle of the bottom of the bucket and the lid of the second bucket.
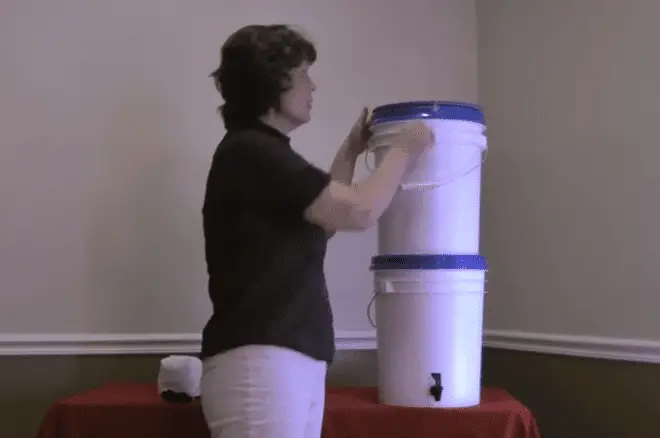
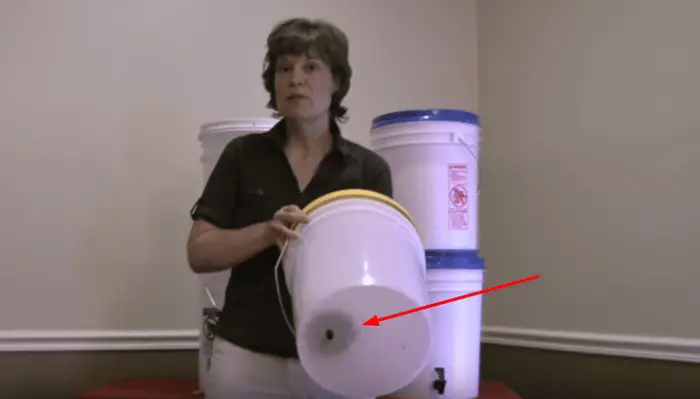
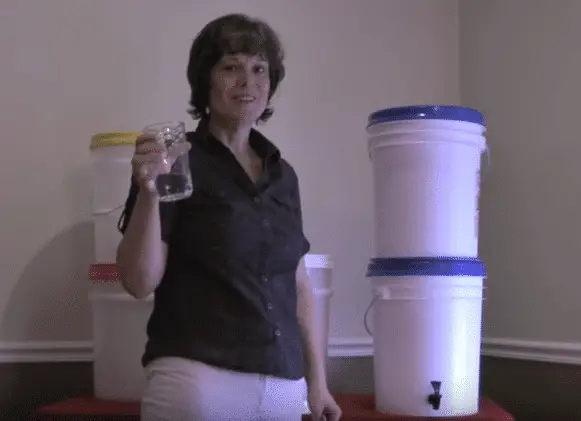
Note: Filtration using this setup tends to be a little slow. A 5-gallon container can filter 12 to 15 gallons of clean water per day. To improve flow rate, you can increase pressure on the filter by using deeper containers for the top layer.
Alternatively, you can increase the elevation of the system and add a siphon at the bottom part of the bottom layer to keep things flowing. A downside to these is that it increases costs and will also require manual labor.
Emergency Water Filter
This is perhaps one of the most famous filtration setups ever. You’ve seen this in action during boy scouts, survivalist shows, and was even featured on a season 5 episode of The Walking Dead.
This emergency filter really comes in handy in situations where no other materials are available and commercial water filters are unobtainable. It’s quick to make and costs virtually nothing.
Materials
- 1 large plastic bottle
- 1 separate container as receiving vessel for clean water
- 1 clean cheese cloth (or any other cotton cloth will do)
- 1 coffee filter (can be substituted for a cloth with small pores)
- Charcoal
- Fine and coarse sand
- Gravel
- 1 pair of scissors or 1 cutter
Steps:
- Using a pair of scissors or a cutter, cut off the bottom portion of the plastic bottle.
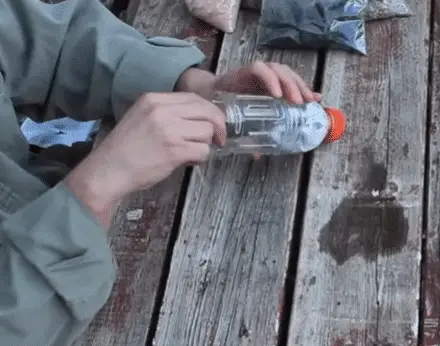
Note: if no bottle cap is available, flip the configuration of the emergency filter and cut off the top portion instead. Then, poke holes on the bottom of the bottle.
- Start assembly of the water filter. Begin by stuffing the bottom of the filter with a fine cloth, coffee filter, cheese cloth, or cotton stuffing.
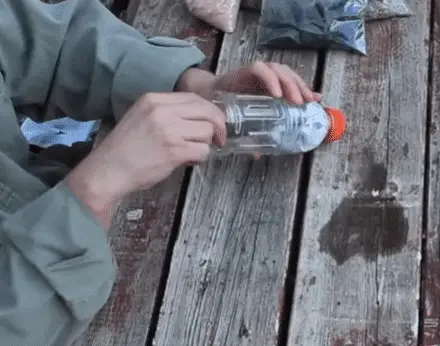
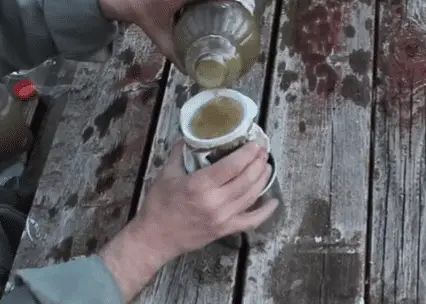
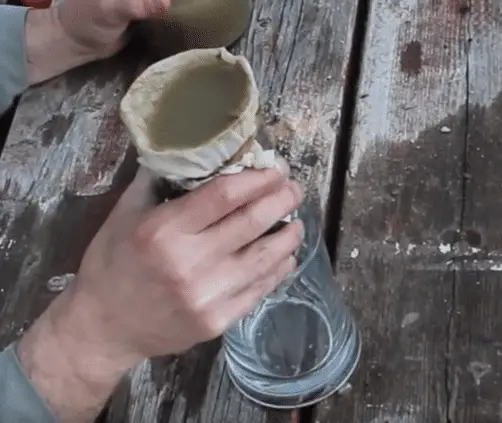
While filtering, pour water slowly to keep the layers inside intact. Be careful about filling it too much. Any overflow might contaminate the filtered water collected.
3. Tree Branch Homemade Water Filter
The idea behind this water filter is that you need only to pick up a tree branch, insert a piece of the branch inside a hose, and simply filter the water through the hose.
A team from MIT is responsible for this discovery, which only requires a few minutes to build. The idea behind the filter is that sapwood, a component inside the wood that transports sap, contains xylem tissue that can be used to filter out water contaminants.
Materials
- 1 small branch
- 1 knife
- 1 fastener
- 1 piece of tubing (length will depend on you)
- 1 plastic bottle
Methods
- Grab a small piece of tree branch. Peel off the bark using the knife.
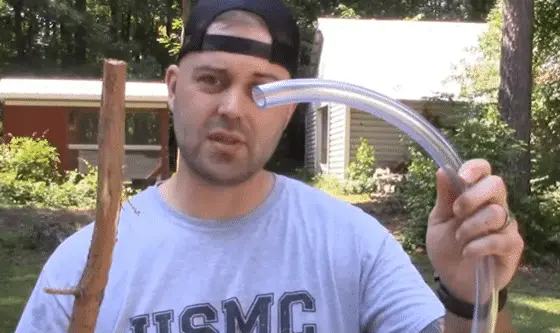
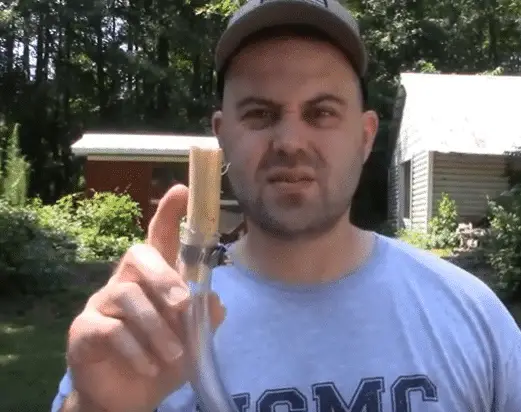
Note: this filtration setup is capable of filtering uncontaminated drinking water at a rate of four liters per day. Considering that this is painfully slow, the best thing to do is to build multiple setups to have enough supply of drinking water when you need it.
4. Bandana Tripod Filter
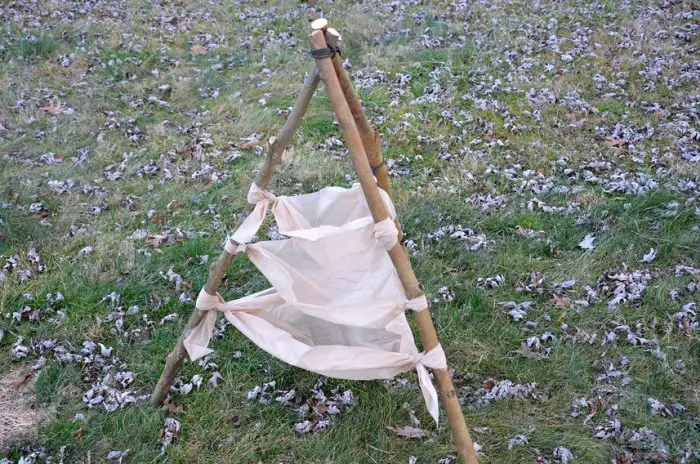
In situations that call for survival, the most likely scenario is that you won’t have any equipment available for you. You won’t have access to buckets, hoses, or even water bottles. So what’s the next best thing to use for clean water?
Your bandana or any article of clothing that’s made of cotton… and a bunch of sticks.
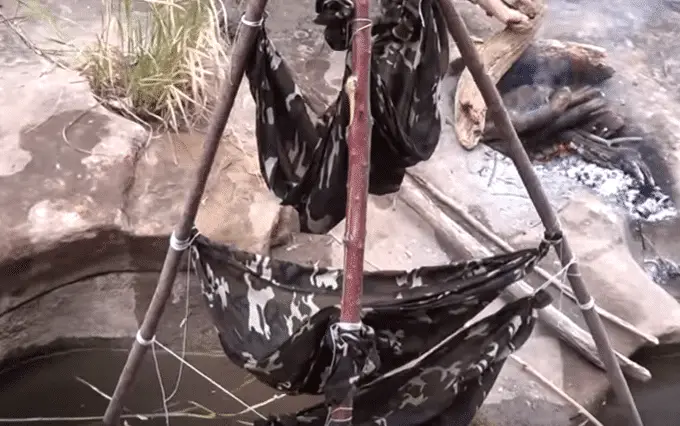
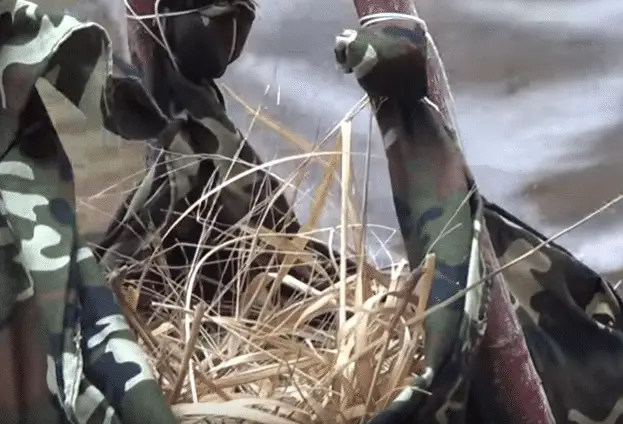
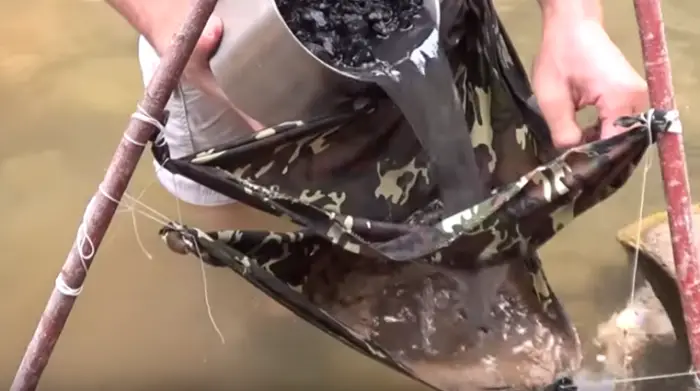
It’s basically the same setup as the other filters. You have three filter levels, each having their own function. As the water passes through each of the filters, they get progressively cleaner. The pieces of cloth hold the filtering materials together while the sticks act as a foundation that supports the entire setup.
A rudimentary solution – but an effective one.
Materials
- 3 pieces of cloth (preferably cotton)
- 3 straight, long sticks (should not be flimsy)
- Rope
- Lots of ferns (or any other leaves with plenty of surface area that’s non-toxic)
- Sand
- Pulverized charcoal
Methods
- Assemble the base of the filtration set up by creating a tripod using the three sticks. Secure the top with a rope.
How Much Clean Water Can DIY Filters Produce?
The amount of clean water that is produced per day during filtration with the DIY filters will depend on a number of factors, which all boils down to flow rate.
DIY filters are reliant on materials that you can find anywhere around your home or in nature. It doesn’t use any special technology.
This means they rely on gravity to guide the water through the filter. Because it relies on gravity, filtration can either be quite fast or quite slow, depending on the porosity of the materials.
For instance, the ceramic water filter system only has two components in its filters: the ceramic shell and the activated carbon inside. It passes through two porous materials, allowing the setup to produce 12 to 15 gallons of clean water per day.
Meanwhile, the emergency water filter has many layers, which can hinder the flow of water. Before exiting the setup, it has to go through layers of gravel, sand, charcoal, and diatomaceous earth – before flowing through a tiny hole at the bottom. This limits the amount of clean water it can produce in a day.
To compensate for the slow flow rate across the filter, you can actually use a siphon to speed things up. By applying a mini-vacuum through the filter, you can improve the speed in which the water flows through the filter. But this also creates an additional problem: contact time.
Contact time affects the quality of the water produced. Some components rely on high contact times to sufficiently remove what they’re intended to remove. For example, charcoal removes chemical contaminants through prolonged contact.
Keep in mind all of these factors when creating a DIY filter so you can manage your expectations and act accordingly in different situations.
Other Water Collection Techniques for Survival
The thing about water filters is that no matter how you build one, there will always be something that poses a problem: a water source.
If there’s no water source nearby, your filter is useless. So what do you do? You collect water from other sources. Here are some water collection techniques you can use to increase your chance of survival.
Bandana Method. All you have to do is wrap a clean bandana while walking through blades of grass in the morning. The bandana collects condensation from the grass, which you can then wring to drink.
Water Condensation Collection. You can also catch condensation from plants at any time of the day. Find a suitable plant that will serve as your water source. Grab a bunch of leaves from the plant and wrap them inside a plastic bag. Leave the plastic bag to collect condensation released by the plant through transpiration.
Also see:
